Archive for the ‘Home Organization’ Category:

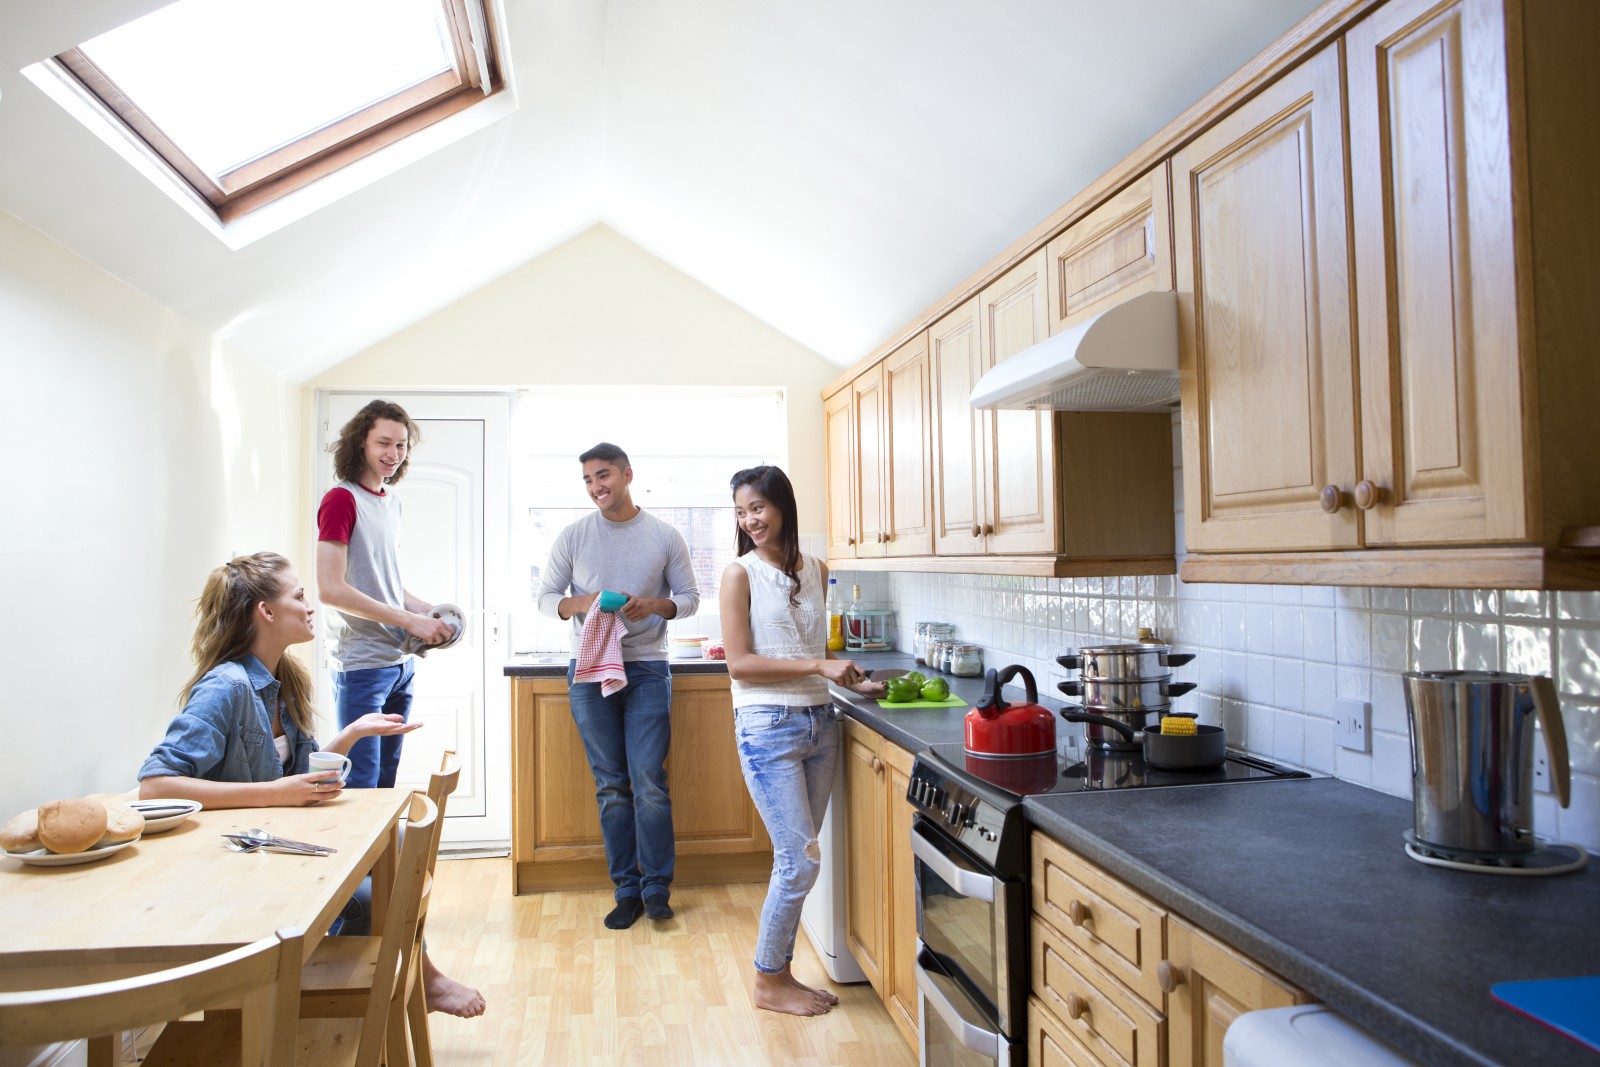
Maximizing Space in a Small Kitchen

Many homes come with kitchens that are less than ideal. The lighting can be terrible, the appliances old, the floors grimy … and counter space? Well, that’s a nice idea.

Get the most out of the kitchen space you do have with these tips.

Make room

You can create extra space, even when it seems impossible. Over-the-sink covers, cutting boards and colanders help increase your workspace.

Burner covers for your stove and a large cutting board or tray can create extra counter space when you’re entertaining and want to set out snacks (provided you don’t need to use your stove).

Fold-up tables (attached to the wall or stand-alone) offer extra space when needed. If there's room, a butcher block or island instantly create food prep or storage space.

Another simple way to create space? Pare down your belongings - especially on the counters - and only keep the necessities.
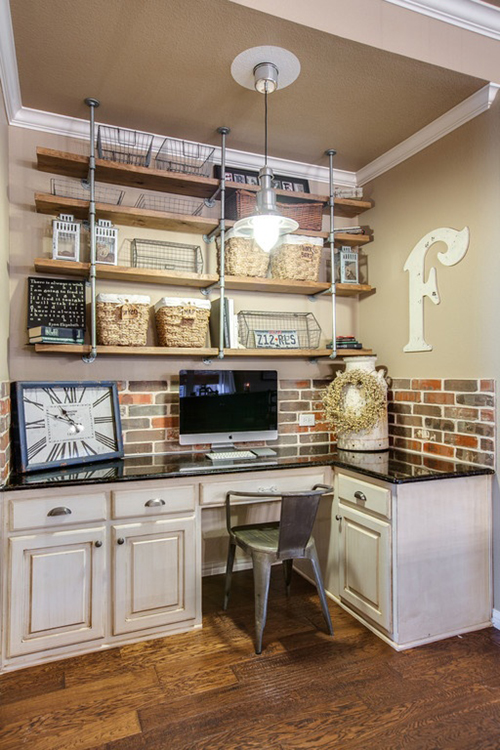
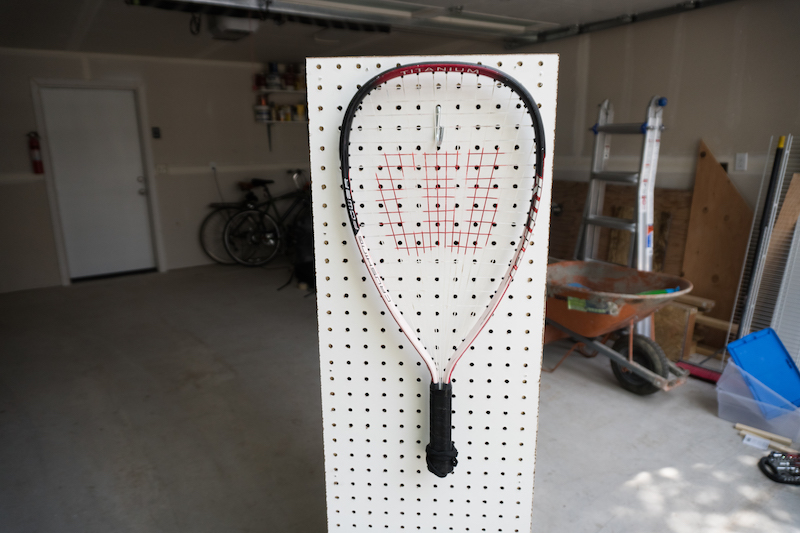
Go vertical

A wall above the stove may be perfectly suited for a pegboard where you can hang pots, pans and utensils. Magnetic knife and spice racks can fit into small wall spaces under cabinets or above sinks.

Refrigerators can serve as storage space for magnetic spice racks, towels, pot holders, or dry-erase boards or chalkboards, which are both useful and decorative. And over-the-cabinet hooks and towel racks add extra storage quickly and easily.
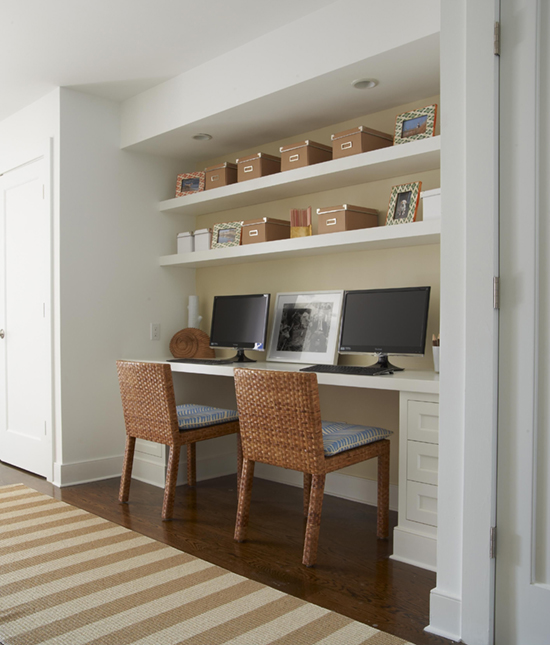
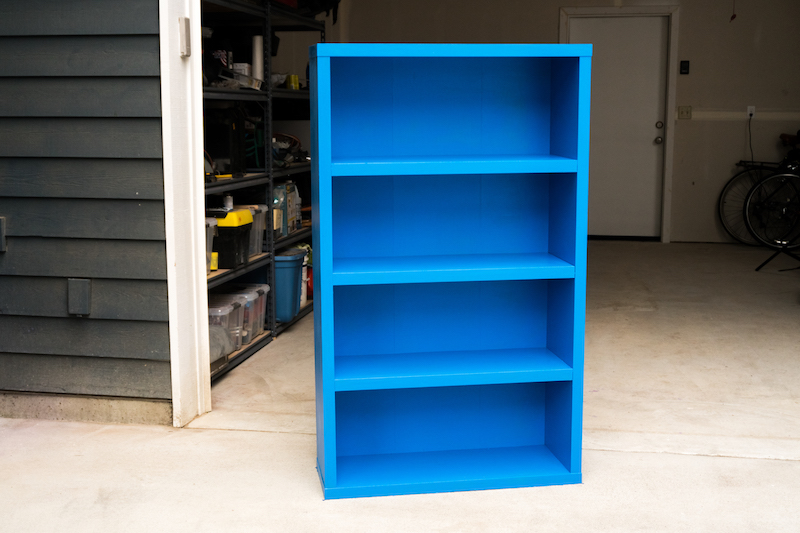
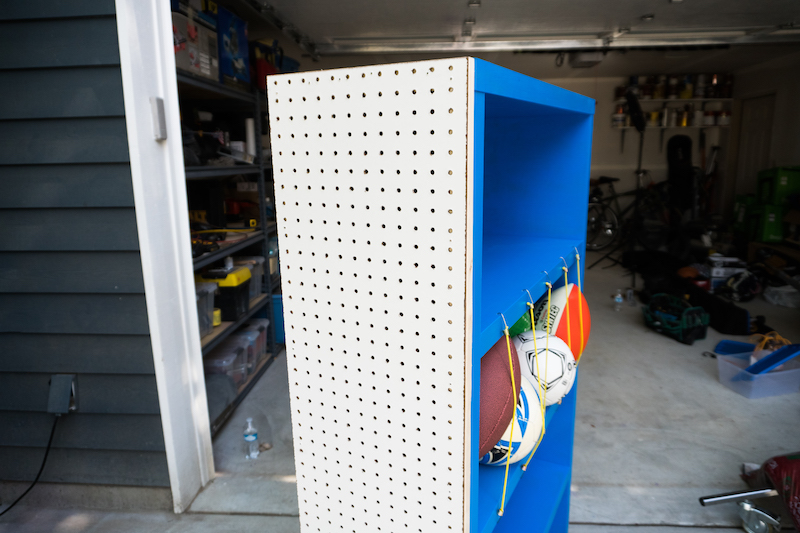
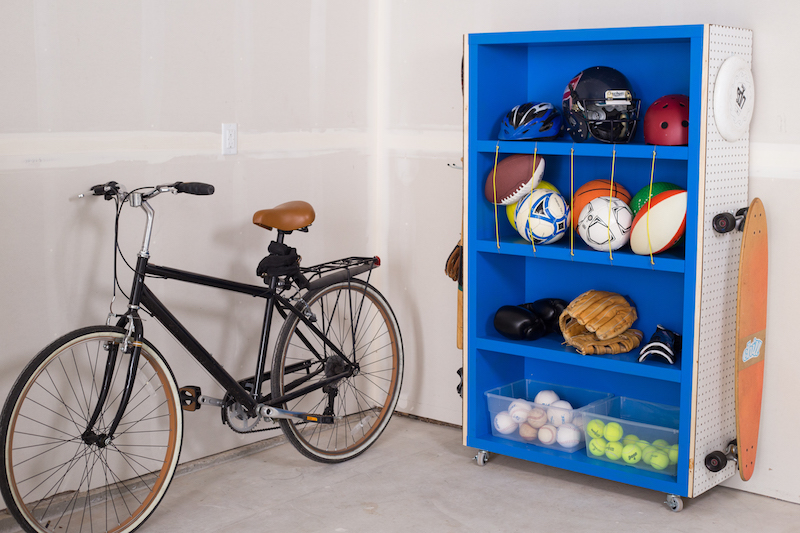
Use bookcases

Small bookcases are a kitchen's best friend. They are perfectly narrow, they come in many heights and they offer tons of storage options.

In addition to keeping cookbooks tidy, they can also hold pots, pans, dishes, food items, storage containers and baskets.

Add hooks to the side of your bookshelf to store aprons or other lightweight tools.
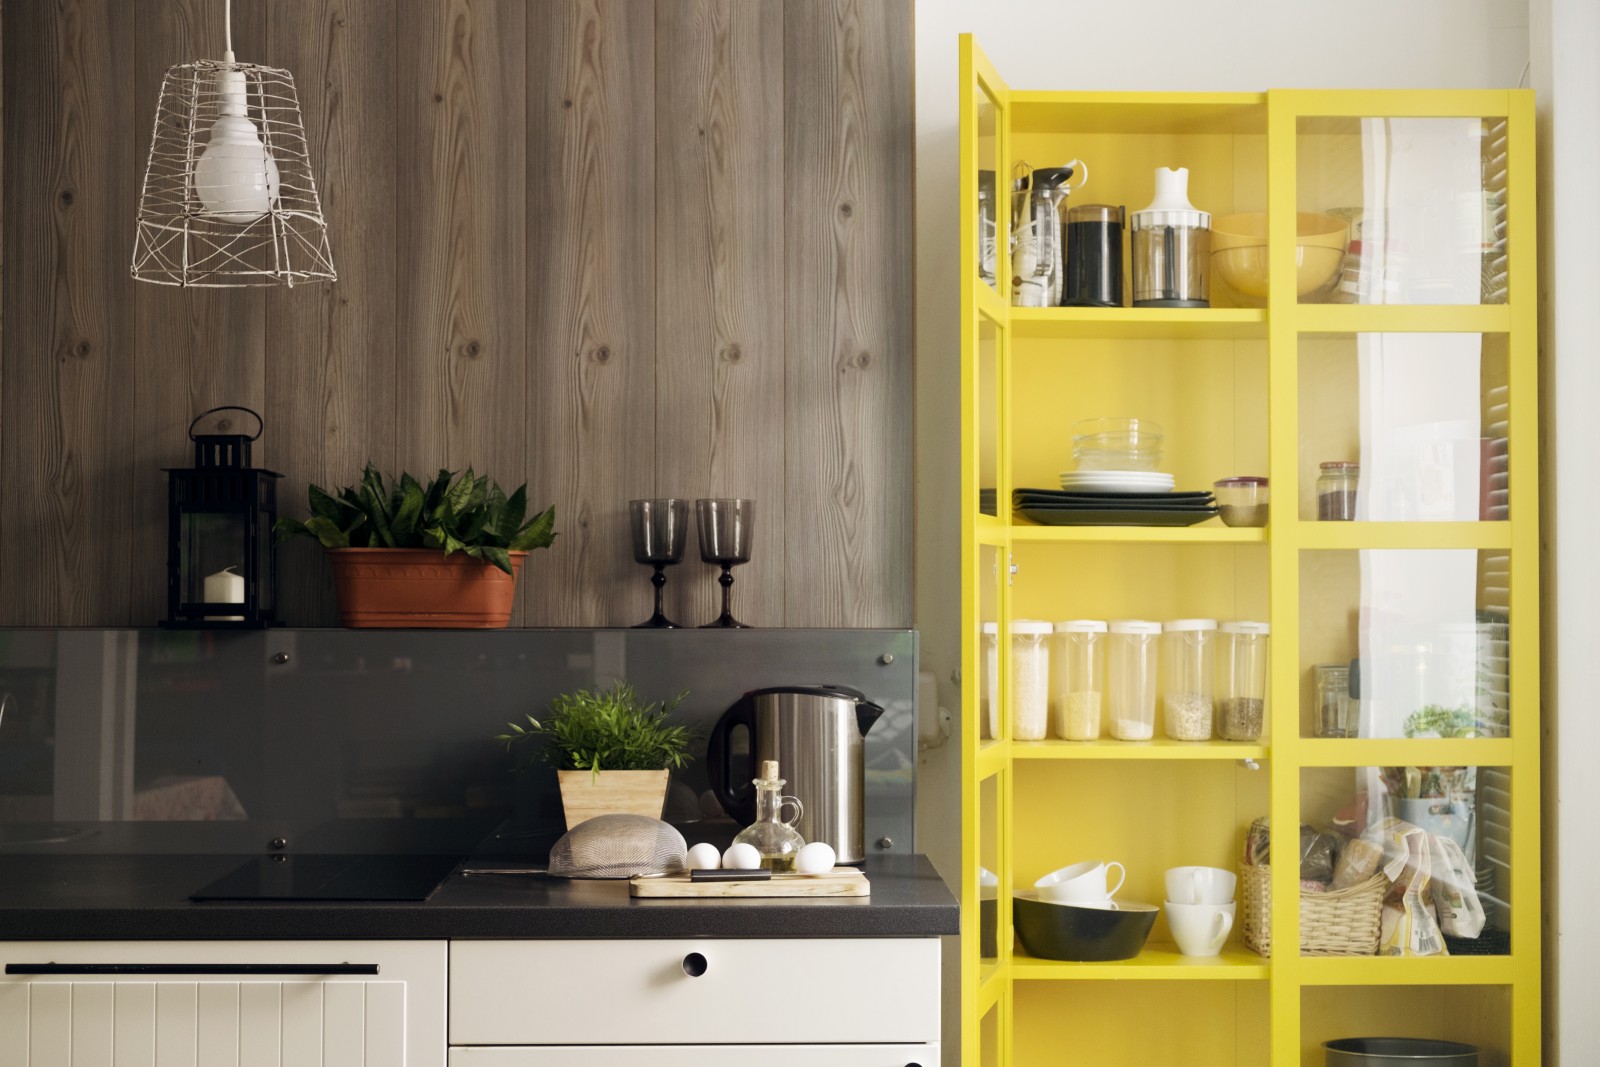
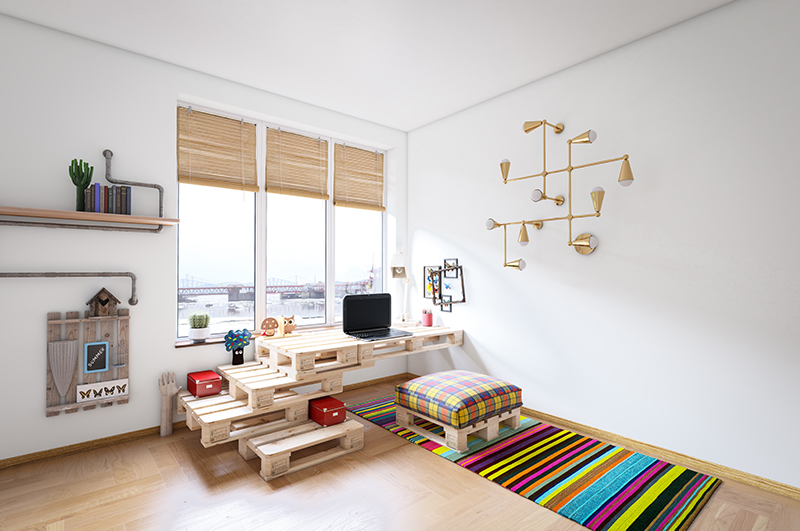
Add art and color

Art and color are fast ways to personalize a small kitchen. Color-coordinated kitchen accessories become art in and of themselves, and a simple color palette lets the eye rest in a small space.

When using every inch of space, don't forget to leave room for a few decorative elements. Hang attractive tea towels with pushpins for a practical splash of color. And fresh flowers on a shelf or table instantly brighten the space and add life.

If you have a windowsill, an herb garden is the perfect way to use the space and bring vibrancy. You might even consider installing a vertical garden.

Cover eyesores

Every older kitchen has at least one eyesore: an ancient microwave, a scratched-up refrigerator or a hideous vinyl floor. If you’re not ready to put down the cash for a remodel, cover these as best you can.

Cover exposed sink pipes with curtains attached to the bottom of the sink (bonus: extra storage space). Store your old microwave or replace it with a newer, more attractive version.

As for scratched or just plain ugly refrigerators and appliances, adhesive vinyl can create a like-new look in a matter of minutes.

Cover unsightly floors with kitchen-friendly mats that also make standing at the counter easier on your feet, and refresh old cupboards and drawers with plain or patterned drawer liners.

Upgrade lighting

Lighting in any kitchen is hard to get right. Many fixtures make the space feel dated, and upgrading bulbs and cleaning light covers will make a difference right away. Consider installing adhesive under-cabinet lighting to better illuminate your workspace.

If you can direct your lighting, such as track lighting, make sure it points to the kitchen triangle - that well-worn path from the stove to the sink to the refrigerator.

If overhead lighting is scarce, consider using table lamps and even floor lamps. A floor lamp in a kitchen might seem odd at first, but put it at the end of a counter or tucked behind a table, and you'll be grateful for the extra light.

Related:


Originally published June 6, 2016. 

Roommate Relations: Making Smart Use of Shared Spaces

Renting a home with other people can be stressful. But with careful planning and clear communication, living with others doesn't have to lead to passive-aggressive notes and arguments.

Whether you live with your sibling, your bestie or your significant other, try these tips for making smart use of those shared spaces.

Closets

What matters most when sharing closet space is equality. No, you don't need to make a line with tape on your closet floor (please don't). But you should stick to your designated areas.

Hang vertical cloth shelves in the middle to store your shared towels and extra sheets, while also creating a closet divider. And when you toss your shoes in the closet, make sure they're on your side.

Cabinets

Maximize the cabinet space you're given by adding stackable wire shelving racks. In the kitchen, they’re great for storing plates on top and bowls below. And under your sink, you can put extra sponges, cleaning rags and garbage bags below with your cleaning spray bottles up top.

Storage bins and plastic stackable boxes can also save the day - especially when it comes to bathroom storage. Put your skincare items in one and your dental products in another.

These stackable boxes come in all sizes - the ones with more depth can fit your bulkier products, and the shorter boxes are better for smaller items, like your travel-size products.

Pantry

Once you place those stackable wire shelves in your kitchen pantry, you'll soon learn that labels and plastic bins rule.

If you decide to share spices and other items like flour, vegetable oil and cooking spray, try arranging them in bins with labels that say "Shared." Use more labels to mark shelves and bins with each roommate’s name, if you think you'll all need the reminder.

Countertops

Decide with your roommates if it’s OK to keep items on the kitchen and bathroom counters. It may seem silly to discuss countertop space, but you'll be glad you did.

Decide how many and which items you agree to allow on the counters. Does the toaster that you never use drive your roomie crazy? Are you okay with your BFF's curling iron always being on the bathroom counter?

Air out your countertop pet peeves - you can always find ways to avoid potential disagreements.

The shower

Avoid any possible product mix-ups with a couple of shower caddies. Hang one over the shower head, and put another one (or two) with suction cups on the shower wall. Plus, storing your bath products in hanging caddies leaves the corners of your tub easy to clean.

Storage

If your place comes with its own storage space, try using a tall shelving unit and dividing the shelves equally among you.

If someone ends up slowly taking over the unit, try putting your belongings in labeled plastic bins. If things really get out of hand, see if your storage buddy may be willing to pay a bit more in rent or utilities.

Parking

Your apartment comes with a covered parking spot? Sweet! Oh, it only comes with one parking space? Not so sweet.

Try rotating its use every week or month. Or make an arrangement saying that whoever uses the parking spot can pay more in rent each month. Another idea: The roommate with the covered parking spot could do more chores than the other roommates.

The key is deciding as a team in advance what's fair - and sticking to it.

Pets

If one of you has a pet, how do you decide where the crate, toy basket, and food and water bowls go? It may make sense to put pet items in common areas, but the pet owner shouldn't assume all roommates are cool with squeaky toys all over the living room floor - no matter how cute that pup is.

Just like you'd pick up your things from the living room, you'll want to pick up Fido's stuff too.

Wall space

Don't hang your art in common areas without getting your roommates' opinions first. Turn decorating your walls into a roommate activity. Gather all the art and decorative wall items you want to hang, and have everyone choose their favorites.

You can even turn it into a chance to get to know your roommates better. Have a cool story about where you got that tapestry? Got your favorite mural while studying abroad? Tell your roomies all about it - and listen to their stories too. They may be cool with your wall decor once they know the meaning it holds.

If all else fails, stick with similar color palettes, and decorate based on shared color groupings. Remember that what doesn't go up in the living room can go up in your room.

Space-saving lifesavers

You can use all the fancy organization materials you want, but sometimes the basics are best.

  • Adhesive hooks are great for hanging towels when you need extra bathroom space - or for hanging keys in the entryway.
  • Use shoeboxes to store smaller items like scarves, winter gloves and cosmetics. Label them to make everything easy to find, and you can even decorate them with wrapping paper to pretty them up.
  • Toilet paper rolls are an organizational lifesaver when you have too many cords. Designate each type of cord within one roll, and label them so you never mix up your roommates' cords with yours again.
  • Over-the-door hangers are essential for items like purses and coats. Or try an over-the-door shoe hanger on one side of the door, with your things hung on the other side for double the saved space.
  • Under-the-bed storage containers are key for off-season clothing items or bulky boots that don't seem to fit anywhere else. Your roommate will thank you for the extra closet space.
  • Fabric panels are an inexpensive way to divide a room for added privacy.

Even if the people you live with are not quite as organized as you, rest assured that at least your belongings are contained on their shelves and in their assigned containers. Having smart shared spaces allows you to enjoy your time with your roommates without stressing over whose stuff is whose.

Looking for more information about renting? Check out our Renters Guide

Related:


Originally published September 9, 2016.

Creating a Home(work) Station That Gets Top Marks

When was the last time your home workspace or study station inspired you? For most people, the answer is, "Not recently."

Whether you’re prepping an area for your work-from-home days or setting up a spot for young scholars to study , you can kick inspiration into high gear with home office solutions that will get your creative juices flowing again.

Window wonder

It's no secret that sunshine does the body good. Fix up a space near the window so you can soak up plenty of vitamin D while pumping out price lists or writing that term paper.

Greenery looks great near a bright area, so a potted plant or two might help naturally bring your space to life.

Arts and crafts

The age of DIY is upon us. Embrace the casual-cool vibes and create your very own home desk area.

Need a semipermanent to-do list? Try using chalkboard paint to make yourself a giant notepad on a nearby cabinet or a framed chalkboard. Tired of the overdone corkboard for your sticky notes? Framed chicken wire with clothespins makes a more shabby-chic memo board.

The possibilities really are endless for this type of style. Just don't let your DIYing get in the way of the tasks you originally sat down to do!

arts
Photo from Zillow listing.

Collaboration is key

For those less focus-intensive projects, investigate a collaborative workstation with several small spaces or a giant community table. This type of work environment has been popular among small companies and creative agencies for the purpose of bouncing around ideas.

If you still want your own personal space, put a divider between you and the other desks for some extra privacy, and take it down when it's time to meet and discuss. You know what they say: Teamwork makes the dream work.

collab sm
Photo from Zillow listing.

A clear mind

While many of us would like to think we have complete control of our habit of logging onto Facebook or checking what else our calendar has in store for us, most of us really don't. And the greatest enabler of this sidetracked behavior is a cluttered workspace.

Set the stage for a clean slate with a bright white desk and matching chair, a simple light fixture and an inspiring element. Keeping your workstation simple and clutter-free ensures you have a productive day - even if your homework is less than exhilarating.

Whether you're up all night cramming for exams or prepping for a work presentation due first thing in the morning, you'll feel more focused and productive by incorporating any of these tips into your workstation.

Related:

Originally published September 7, 2016.

With This DIY Sporting Goods Catch-All, Game Day Is No Sweat

This project will help you organize your garage and become the MVP of DIY projects. With all your sporting gear in the same place, you’ll always be prepared when someone yells, "Where’s my basketball?” (Or volleyball, hockey stick, tennis racket, etc.)

See how it’s done, then follow the step-by-step instructions to build one of your own.

1. Find a bookcase

Choose a bookcase with at least three wide shelves so you can store gear in a variety of sizes.

2. Add locking wheels

Attach locking wheels to the bottom of the bookcase so you can easily move it around the mudroom or the garage.

3. Drill holes

Drill evenly spaced holes (about four or five, depending on the width of the bookcase) along the top surface of one of the shelves. Keep the holes fairly close to the edge - about one-half inch away or less.

On the underside of the shelf below, drill holes to match up exactly with the holes on the shelf above.

4. Attach bungee cords

Place the bungee cord hooks in the drilled holes, and arrange the cords vertically so they create a net. You want the cords to be pretty taut, so get the right size for your bookcase.

5. Mount peg boards

Frame the sides of your bookcase with 1-by-2-inch boards to support peg boards that have been cut to size. Secure the peg boards with a few nails on the top and bottom.

6. Customize with hooks and holders

Place hooks and holders on the peg board so you can hang your tennis rackets, baseball gloves, jerseys, helmets and more.

7. Load up your catch-all, MVP!

Grab your gear and organize the bins however you see fit. Now all you have to worry about is scoring the winning goal.

Related:

Originally published September 2017.

Meet the Clutter Scale: One Pro’s Secret to a More Intentional Home

Although I have always been organized, there were two significant moments in my life that taught me how to manage clutter.

The first was when I returned from a backpacking trip around the world. Having visited homes in many developing nations, I no longer wanted to have such excess in my own home. My possessions were organized, but I had too many of them for my taste.

After I unpacked from my journey, I began a thorough review of my stuff. I started upstairs, removing unnecessary items floor by floor. By the time I reached the basement, I had enough stuff to set up a second apartment.

My second decluttering lesson was right after my divorce. Just months after the split, I was facing bankruptcy. I began my climb out of sudden and severe financial debt while simultaneously making a name for myself in the organizing industry. I hired a top-tier PR agent, but I knew I had to come up with some big bucks to cover his fee and all the expenses that go along with creating a brand. I decided to sell my home and everything I owned to make it happen.

As I sorted my belongings for a second time, I created the ranking system below to help me decide what to keep and what to toss. It worked beautifully for me, and I think it can work for you too.

The clutter scale

5 - Important items whose place in your home is non-negotiable. For me, this included my green-stained Depression glass, photos, business files, office equipment and car.

4 - Items that are difficult to replace and items you use every day. This pile included most of my clothes, some furniture, a favorite sheet set, towels and jewelry.

3 - Items you use occasionally but haven’t used within the last six months.

2 - Items you rarely use but feel hesitant to toss.

1 - Items you never use, like seasonal items, specialized tools or kitchen gadgets. I got rid of stationery, extra wrapping paper, old boxes and my printer.

You know what I found as I used the clutter scale? There were rarely items that rated a 2 or 3. And once I established some criteria, I sorted and purged the 2s and 3s like never before. As you sort your less important items, ask yourself the following questions:

  • Do I love it?
  • What's the special story behind it?
  • Do I have the space for it?
  • Can I replace it?
  • Can I easily borrow it or rent it if I need it again?
  • Does it support my goals and values?
  • Does it compare to the items I ranked as a 5?

The clutter scale is a great way to get back in touch with your priorities. My priority at the time was starting my business, so I kept the bigger goal in sight and let go of anything that didn’t support it.

What I didn't know then was that I was already practicing what I was going to preach in my business. I learned to organize my life and stuff based on my values. I chose to collect experiences - not things.

As you declutter and rank your possessions, don’t forget to take a few minutes to think about your goals and values. You’ll find your home to be much more intentional and peaceful if you do!

Related:

Originally published January 2017.
Realtor MLS Logo
© 2020 Russell Rich Real Estate | All Rights Reserved