Archive for the ‘home maintenance’ Category:

Are You Overimproving for Your Neighborhood?

We all love a house-flipping reality show - we shout our opinions and weep when we see the final reveal. It’s an innate human instinct to want to make things better. And when it comes to selling your own home, it’s often a good instinct to follow.

But while it may be OK to max out the budget on a reality TV show, pulling out all the stops in your own home renovation might not be the best choice. Depending on the real estate market, your neighborhood and what buyers are looking for, you may need to do less - or more - than you think.

Before you demolish all the walls, take these four considerations into account.

Sellers market vs. buyers market

Does your local market favor buyers or sellers? You can tell the difference by looking at trends on Zillow, talking to a real estate agent or checking out nearby neighborhoods.

If a lot of nice for-sale homes in your area haven’t sold, it’s likely a buyers market. This means that shoppers have many homes to choose from, so the ones with the nicest updates, lowest prices and better neighborhoods will go first, leaving a lot of homes sitting idle on the market.

If homes are selling right and left, then it’s a sellers market. In this case, there aren’t as many homes for buyers to choose from, so sellers can often get above asking price as a result of bidding wars.

If you’re thinking about selling your home, understanding what the market is doing will help you determine how much you need to upgrade your home.

Improving in different markets

If it’s a buyers market, you’ll likely need to do more to your home to stand out. The average garage door replacement costs around $1,600, but if it makes your home stand out and sell faster, it may be a good move.

If it’s a sellers market, you can get away with upgrading less, since homeowners will be competing for your home regardless of how tricked out it is. Spend your money wisely on things like new counters or fixtures, and spruce up the rest with a fresh coat of paint and some elbow grease.

Consider your neighborhood

The next important factor is your neighborhood, because you don’t want to price yourself out of it. Do you live in a new development? Or an older one where the homes are 40, 50 or 60 years old? Do you have a homeowners association that will limit what you can do? Or can you renovate at will?

In older neighborhoods, you don’t want to renovate your house so much that it looks out of place or becomes a target for theft. You want to find a nice balance.

If most homes in your area have dated finishes, focus on a few crucial updates that’ll help your house stand out and stay within your neighborhood’s average pricing. People are less willing to buy a $475,000 house in a neighborhood where homes don’t usually sell for more than $300,000.

A good rule of thumb: Don’t raise your home’s value any higher than 10 percent of the average cost of homes in your neighborhood.

However, if you live in a nicer area and your house is the shabbiest on the block, you’ll want to spend a little more to keep up. Take a look at homes in your neighborhood that have sold in the last 90 days (you can find this right here on Zillow). Emulate the finishes those homes have while remaining within your budget.

Where to invest your money

Give your home the features buyers look for most. Many homeowners look for updated kitchens, master bedrooms and bathrooms. These three spaces alone can sell your home, so consider investing extra money in these areas.

If you have additional funds, consider replacing flooring or upgrading small things like lighting, fixtures and doorknobs.

Use your budget wisely, and consider going the DIY route - some projects can recoup a large part of your investment! If brand-new kitchen cabinets are out of your budget - or if they’d price you out of your current neighborhood - consider painting your current ones.

Of course, watch for sales or deals on things you can use in your renovations. Regardless of how old or new your neighborhood is, choose timeless styles and colors that will appeal to a wide range of home buyers.

If you do your market research and follow the trends, you’ll end up with a beautifully renovated home that will appeal to a large range of buyers.

Related

Originally published April 25, 2016.

3 Must-Do’s Before Listing Your House for Sale

Planning to sell your house this year? Now’s the perfect time to prep it for listing!

Set aside a couple of weekends to do the work, and follow these three steps. Then, get ready to make a great impression on potential buyers and cinch the deal.

Step 1: Clean and declutter

It may sound obvious, but the importance of cleaning and decluttering cannot be overstated. Here are some ideas to make this process nearly painless.

  • Eliminate clutter before cleaning: This is the time to purge your house of unwanted and unnecessary items. In addition to donating items to charity, consider giving them away through Craigslist or neighborhood sharing groups. Recyclers are often willing to pick up and haul away large metal items for free.
  • Deep clean your house: This step will probably involve the biggest time investment. Get the whole family involved if you can! Think of this as a pumped-up spring cleaning. Pay special attention to kitchens and bathrooms, and clean the inside and outside of your windows - this makes a striking improvement in the overall appearance of your house.
  • Organize closets, cabinets and drawers: In this case, out of sight is not out of mind. Many potential buyers will open cabinets and closets, because they are thinking about storage space. Clean and organized storage areas signal to buyers that you take care of the house.

Step 2: Make small repairs

Take care of these problems before you show the house for the first time. These are all fixes that you can do yourself.

  • Fix any leaking faucets and running toilets.
  • Replace caulking around tubs, showers and sinks.
  • Freshen up or repair grout as needed.
  • Repair walls and repaint them in a neutral, generally pleasing color that complements your home.
  • Fix cracked or broken windows.
  • Replace or repair damaged window screens.
  • Replace burned-out lightbulbs.

Step 3: Go for curb appeal

You want potential buyers to be charmed by the outside of your house so they look forward to coming inside. Extend your pumped-up spring cleaning to the outside of your house too.

  • Trim bushes, shrubs and trees. Make sure vegetation isn’t touching your roof or siding.
  • Repair broken downspouts and gutters.
  • If it's appropriate for your yard, apply new mulch, river rock and/or pea gravel. This can do wonders for your landscaping and provide immediate curb appeal.
  • Clean and repair concrete areas, such as driveways and walkways. Eliminate any oil or grease stains, and clean out any weeds coming up through the cracks.
  • If it's seasonally appropriate, put out some pots of annuals, which will maintain their color for the season. Freshen up your doorstep with a new welcome mat and make sure the house numbers are easy to see.

With just a moderate amount of effort, you can make your house beautiful and welcoming, both inside and out.

Ready to put your home on the market? Check out our Home Sellers Guide for more tips and resources.

Related:

Originally published March 2017.

Find and Fix Drafty Windows to Keep Your Home Warm and Snug

There's a chill in the air - do you feel it? Rather than wait around for the mercury to plummet, take steps now to ensure that your home remains comfortable through the coldest months of the year.

Besides proper insulation and HVAC maintenance, I recommend taking a close look at your windows. Notorious for air leaks, windows can not only admit cold air but also allow heated air to escape.

There are many ways to seal such drafts - but first you’ve got to find them.

Locate the draft

Here's a quick and easy method of testing the seal on your windows. First, walk through the house and close all the windows as tightly as possible. Next, light a candle. Hold the flame near each window, inches from the glass, slowly moving the candlestick around the seam between the window and its frame.

If the flame bends or flickers while your hand is still, then there's probably an air leak. Mark the trouble spot with a sticky note so you can return to repair it later. Test every window in the house, marking each area where you suspect a draft.

For a more accurate diagnosis, hire a professional to perform an energy audit of your home. Though there’s a cost involved here, many local utility companies offer such services either for free or for a nominal fee. Check with the company that provides your electricity.

It’s certainly worth inquiring, since what professional energy auditors do is a lot more sophisticated than the candle method. They conduct thorough room-by-room assessments - not only for window drafts but also for any other instances of energy inefficiency.

Address the cause

Having pinpointed the locations of window drafts in your house, the next step is to seal them all up.

There are several ways to get the job done. Some methods are inexpensive, temporary and manageable for DIYers. Other more permanent options are quite expensive and best left to contractors. Choose the fix that best fits your needs and budget:

Weatherstripping

Easily affordable, with a price tag of only a few bucks per window, weatherstripping lends itself to easy DIY installation. Purchase the product in your chosen material - felt, foam, plastic or metal are readily available in hardware stores and home centers.

Cut the strips to size and use them to fill the gaps between a window sash and jamb.

Caulking

Whether you’re working inside or outside, you’ll caulk windows in two places: where the window meets the surrounding casing, and where the casing meets the surrounding wall (inside) or siding material (outside).

Tubes of caulk are inexpensive, and with a little practice, easy to use.  If you’ve caulked your windows in the past, that doesn’t mean you’re off the hook - caulk deteriorates over time. It may be time to remove the old caulk and start over.

Draft snakes

You’ve likely seen or even used a draft snake in the past. These are stuffed tubes, placed on a windowsill or under a door, as a modest measure of keeping out the cold and keeping in the warmth.

Buy one at low cost or make your own for next to nothing. If you go the DIY route, you can use virtually any fabric, including extra towels or socks. Fill the middle with batting, rice, potpourri or anything similar you have on hand.

Though decidedly makeshift, draft snakes work well in a pinch.

Insulation film

If you don't plan to open and close the window, try sealing it under a layer of insulation film. Sold by the roll, insulation film either self-adheres or goes on with double-stick tape.

Also available are special shrink-wrap kits that, once heated with a hair dryer or other tool, create an impermeable, airtight seal without visible wrinkles.

Replacement windows

The bad news: It can cost a small fortune to replace the windows in your home. The good news: Upon resale, the average homeowner recoups about 79 percent of what they invested in the replacement.

This isn’t a simple case of out with the old, in with the new. Properly installed, today’s energy-efficient windows minimize drafts and create an overall tighter seal. In fact, Energy Star-rated windows can lower your energy bills by 7-15 percent monthly.

Add a layer of protection

No matter the benefits of replacement windows, many people are either unable or unwilling to cover the initial expense.

If you’re looking for a less costly but permanent solution to window drafts, consider storm windows. Some designs fit within the window on the interior; others cover the window from the outside. Any type can go a long way toward insulating and protecting the windows you currently have.

When it comes down to it, every layer helps. If you do nothing else to remedy the problem, why not at least hang curtains? You stand to gain not only greater comfort but also real savings on your month-to-month heating bills. Don’t get left out in the cold!

Related:

Note: The views and opinions expressed in this article are those of the author and do not necessarily reflect the opinion or position of Zillow.

Originally published October 31, 2014.

Your Top 5 Fireplace Questions, Answered

Fireplaces are one of the most sought-after home features, but using one can be intimidating, and you've probably got questions.

Here's a quick guide to get you and your fire started this fall.

How do I use a wood-burning fireplace?

If a cave man can start a fire, so can you.

1. Get your chimney inspected
Safety is your first priority! Have your fireplace and chimney inspected by a licensed professional. This is something you should do every year, before the first fire of the season.

2. Prepare the fireplace
Clean out any old ashes with a broom (make sure they're cool, of course). Check that the damper is open and working properly.

3. Gather and prep your wood
Use seasoned hardwood that has been split and dried for at least six months - preferably for a year. Seasoned hardwood logs should be dark and cracked at the ends, and they should make a hollow sound when knocked together.

To construct a long-lasting fire, place a rolled-up ball of newspaper beneath the grates. Then lay pieces of narrow, finely split wood in a crisscross pattern on the grates.

Finish the stack by securely resting one to three dry logs over the kindling.

4. Prime the flue
This step heats the cold air inside the flue so you don't get a backup of smoke. Before you light the fire, light a tightly rolled-up sheet of newspaper, and hold it toward the open damper. Keep it there for a minute or two until you see the smoke going up the flue.

5. Light it up!
Now you're ready to light your fire and enjoy.

If the fire starts to go out, gently fan the flames with folded newspaper or use a poker to get the air flowing again. Add logs to the fire with tongs to provide more fuel.

When the fire has gone out for the night, close the metal or glass doors before you go to bed.

Are fireplaces efficient?

It depends. Wood-burning fireplaces, for all their old-fashioned charm, are a wildly wasteful way to heat a house. Since heat rises upward, most of it escapes through the chimney, even when the fire has gone out for the night.

Fireplaces located against an outside wall lose even more heat, since much of it is lost to the cold outdoor air.

Solution? Only use your wood-burning fireplace for special occasions. If you don't plan on using your fireplace often, purchase an inflatable plug to add insulation.

Gas fireplaces are more efficient, and the newest models are realistic enough to make you forget that you don't own any firewood. Switching to a gas insert is expensive, though, especially if you have to make changes to your chimney.

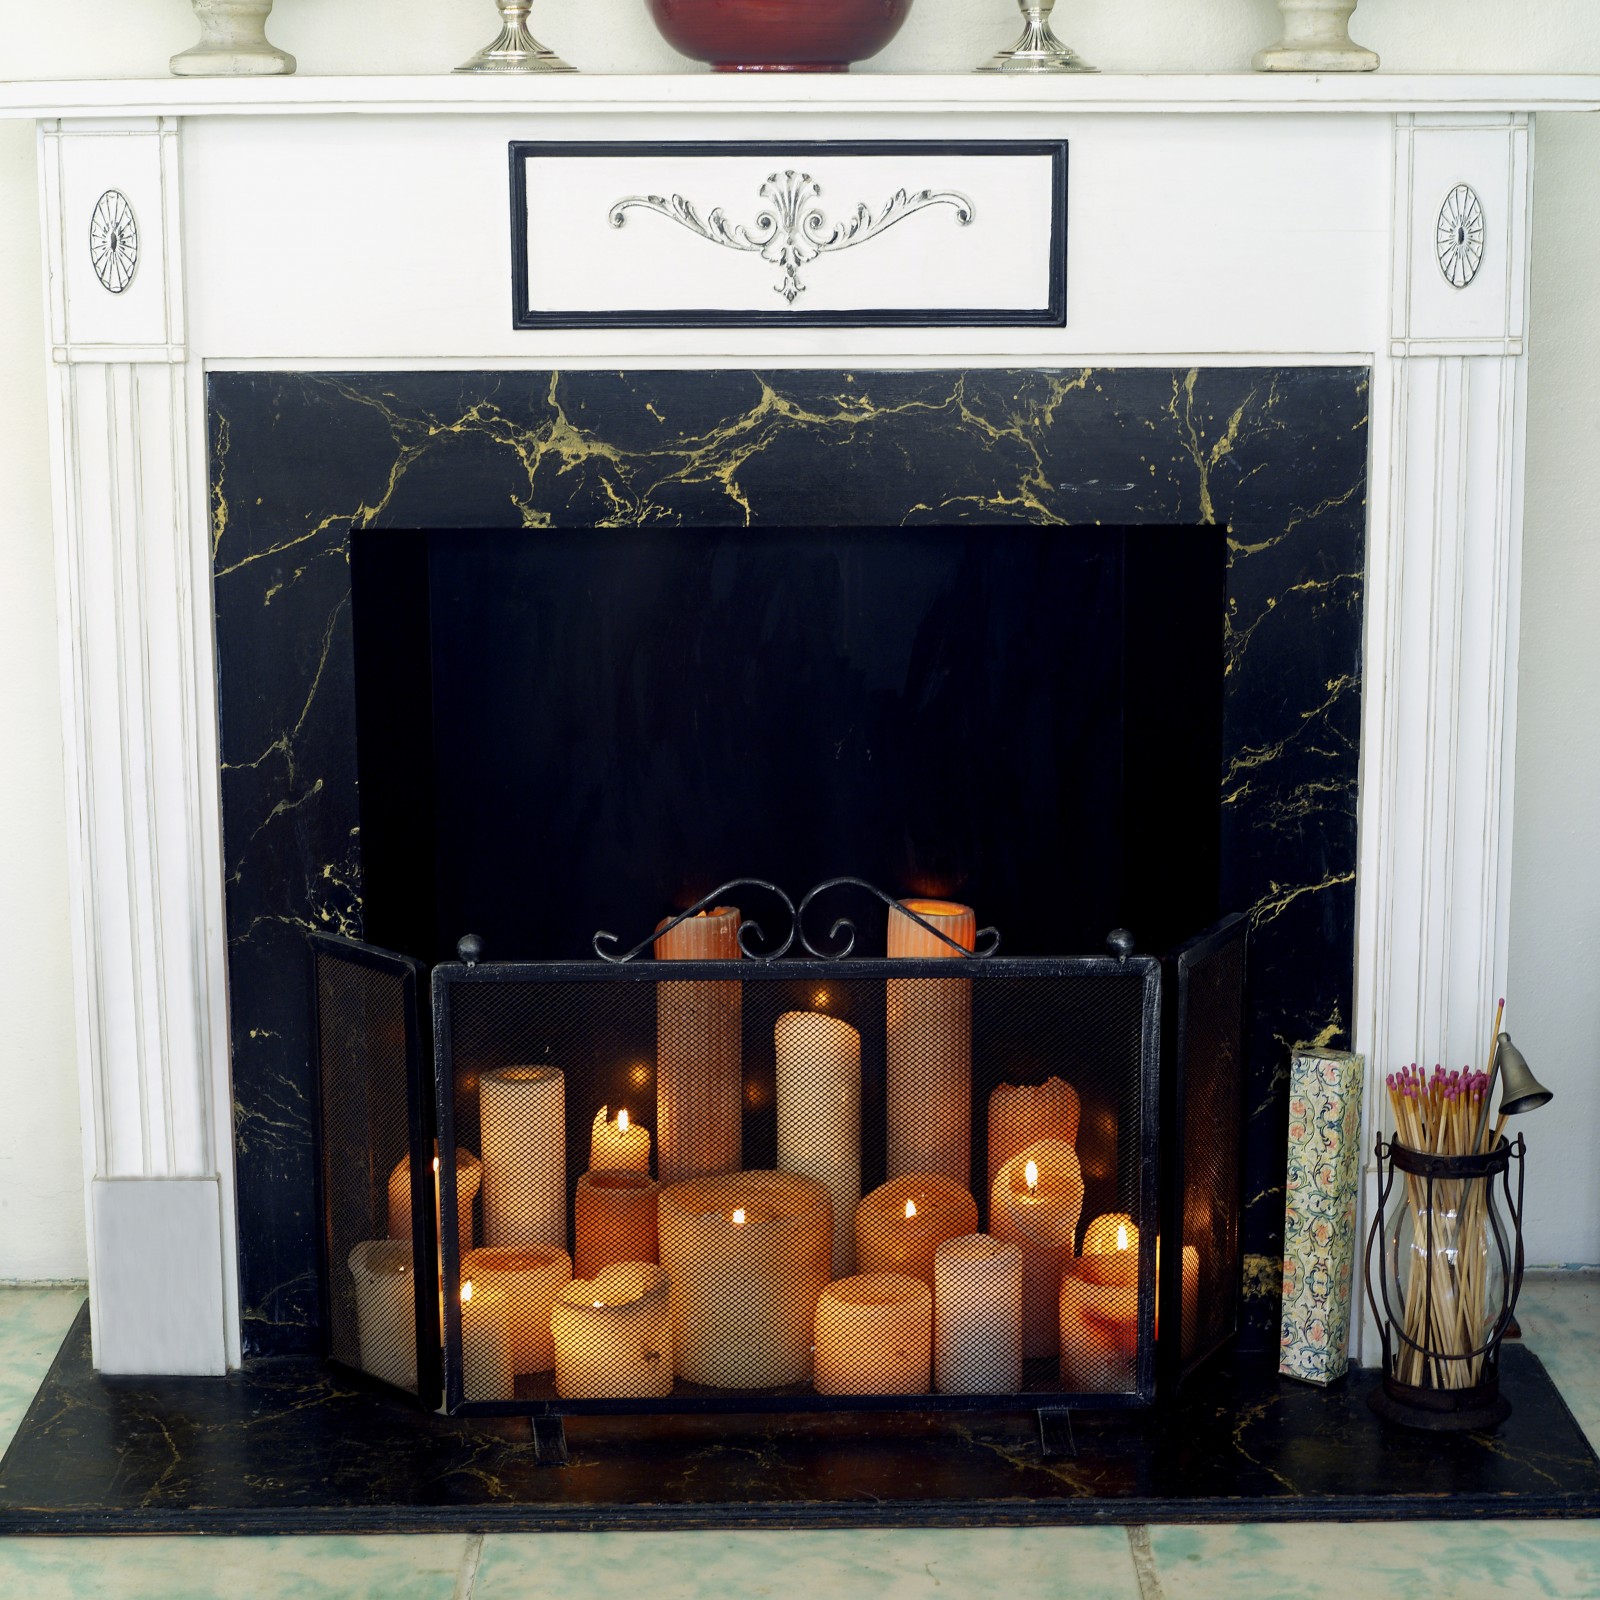
If aesthetics are all that matter, use your fireplace to display lit candles.

Are fireplaces safe?

Fire is the very definition of unsafe, but that doesn't mean you can't safely enjoy your fireplace. You just have to maintain it and practice common sense:

  • Keep flammable materials and objects away from the fireplace, and store firewood well away from the house.
  • To keep embers from flying out and igniting your unread stack of magazines, use a mesh or metal screen when the fire is lit.
  • Before lighting the first fire of the season, inspect your extinguishers, test your smoke detectors and review your family's evacuation routes.
  • Continue to test your smoke and carbon monoxide detectors monthly.
  • The glass doors, mesh screen and tools can be dangerously hot. If you have children, use a free-standing barrier to prevent burns.

Wood-burning fireplaces produce smoke that can irritate or even damage your lungs, even with a properly functioning chimney. To keep smoke from filling your house, ensure that the damper is open, your home is ventilated, and the chimney has been inspected and cleared of obstructions.

Carbon monoxide is produced by both gas and wood-burning fireplaces, and it's especially dangerous because it's invisible, silent and odorless. Use carbon monoxide detectors and inspect them regularly.

Why does my gas fireplace smell?

What you smell is an additive that's been included in the propane to help you detect gas leaks.

Vent-free gas fireplaces typically come with an oxygen depletion sensor that will shut off the flame if too much carbon monoxide is detected, and vented fireplaces pull fumes away from the house.

These safety measures aren't foolproof, however, so ensure that you have carbon monoxide detectors installed, and inspect them monthly by pressing the "Test" button.

How often should I clean my chimney?

A buildup of soot and creosote is more than unsightly: It can reduce airflow, cause smoke to back up and even create a fire risk.

To avoid a chimney fire, have your fireplace and chimney inspected annually by a licensed professional. They will likely recommend a cleaning when the layer of residue is about 1/8 of an inch thick.

To clean inside the fireplace, put on a dust mask, sweep out the ashes, and scrub the surfaces with a brush and dishwashing liquid.

Related:

Realtor MLS Logo
© 2020 Russell Rich Real Estate | All Rights Reserved