Archive for the ‘winter’ Category:

Furnace, Boiler or Heat Pump? Time for Heating Systems 101

Heating your home accounts for an inordinate portion of your utility bill, so it pays to choose the most efficient heating system possible. This doesn't necessarily mean you should upgrade to a different type of system, however.

Generally speaking, it's a bad idea to convert from forced air to central heating, or vice versa, since the benefits rarely justify the cost. Instead, upgrade to a more efficient version of your existing furnace or boiler when it's too expensive to repair - but weigh your options carefully.

Here's a rundown of the most commonly used heating systems, along with their advantages and disadvantages, to help you make the most appropriate choice for your home, climate and wallet.

Furnaces

Also known as forced air, furnaces are the most commonly used heating systems in the U.S. because they're reliable and relatively inexpensive. Gas furnaces are rated for efficiency by their annual fuel utilization efficiency (AFUE) rating. This shows how much energy is successfully converted to usable heat.

If your furnace needs to be replaced, the silver lining is that modern furnaces are more efficient than ever, and some premium models even reach an AFUE rating of 97 percent. When purchasing a furnace, choose one that's appropriately sized for your home so that it doesn't put undue wear and tear on your system or waste energy.

Pros Cons
  • Inexpensive to install
  • Reliable and low-maintenance
  • Have a long life span, especially electric models
  • Can be retrofitted to filter and clean your home's air
  • Already installed in most homes, thus easier to replace
  • Can produce and kick up more allergens
  • Warm air is easily lost through ducts and within the house
  • Gas furnaces can be dangerous, creating a risk of fire or carbon monoxide poisoning
  • Furnaces powered by electricity are safer, but cost more to run

Boilers

Boilers use water to generate and distribute heat through pipes and radiators, heating the air, floors, wall and baseboards as it travels in a loop. They can be powered via natural gas, electricity or propane, and they use the following systems to distribute heat:

  • Steam radiators are the old-fashioned metal things you've seen along the walls in older buildings.
  • Hot water radiators are the newer reincarnation and allow more control and versatility.
  • Hydronic radiant floor heating treats the entire floor of a room like a giant radiator, using tubing under the flooring to distribute heat to toasty toes. While efficient, hydronic radiant floor heating is expensive to install and replace.

Like furnaces, boilers are rated by AFUE score.

Pros Cons
  • Usually runs more quietly than forced air systems
  • Doesn't kick up dust, which makes for much better air quality
  • Can be retrofitted to heat water
  • Can be more efficient than forced air systems
  • Boilers are often more expensive to purchase and install than forced air systems
  • Water can leak when the system is damaged or nears the end of its life
  • Most boilers are powered by natural gas, which isn't available in all areas
  • Aren't necessary in areas with mild winters

Heat pumps

These extremely efficient systems take advantage of existing temperatures (either outdoors, underwater or underground) to heat, cool and humidify your home.

There are three types of heat pumps:

  • Air-source heat pumps are the most common and circulate refrigerant between the outdoor heat pump and indoor air handler.
  • Split ductless systems use one to four indoor air handlers, which are mounted high up on walls and controlled by a remote.
  • Geothermal systems are incredibly efficient because they take advantage of temperatures in the ground, pond or a well, but they aren't practical or affordable for most homeowners.

When selecting a heat pump system, consider the size, noise output and efficiency rating. The heating efficiency is measured by heating seasonal performance factor (HSPF), and the cooling efficiency is measured by seasonal energy efficiency ratio (SEER).

Pros Cons
  • Very efficient, saving lots of money in the long run
  • Can be used all year for both heating and cooling
  • Can be modified with a desuperheater, which assists in heating your water
  • Newer models are appropriate for colder climates
  • Naturally dehumidifies the home in summer, making it ideal for the Southeast
  • More expensive than forced air or central heating
  • Inappropriate for small lots
  • Fans can be noisy
  • Requires more maintenance than other systems
  • In cold climates, you may require an auxiliary heating system that kicks in when temperatures become too low

Related:

Get the Look: 3 Ideas for Turning Your Home Into a Winter Haven

What better time to turn your home into a warm and welcoming den than during the chilly winter months? With just a little investment and some ingenuity, you can bring a distinctive winter-friendly look into your home.

Here are three concepts to inspire you - and some tips to get you started.

Look 1: The British study

The vibe

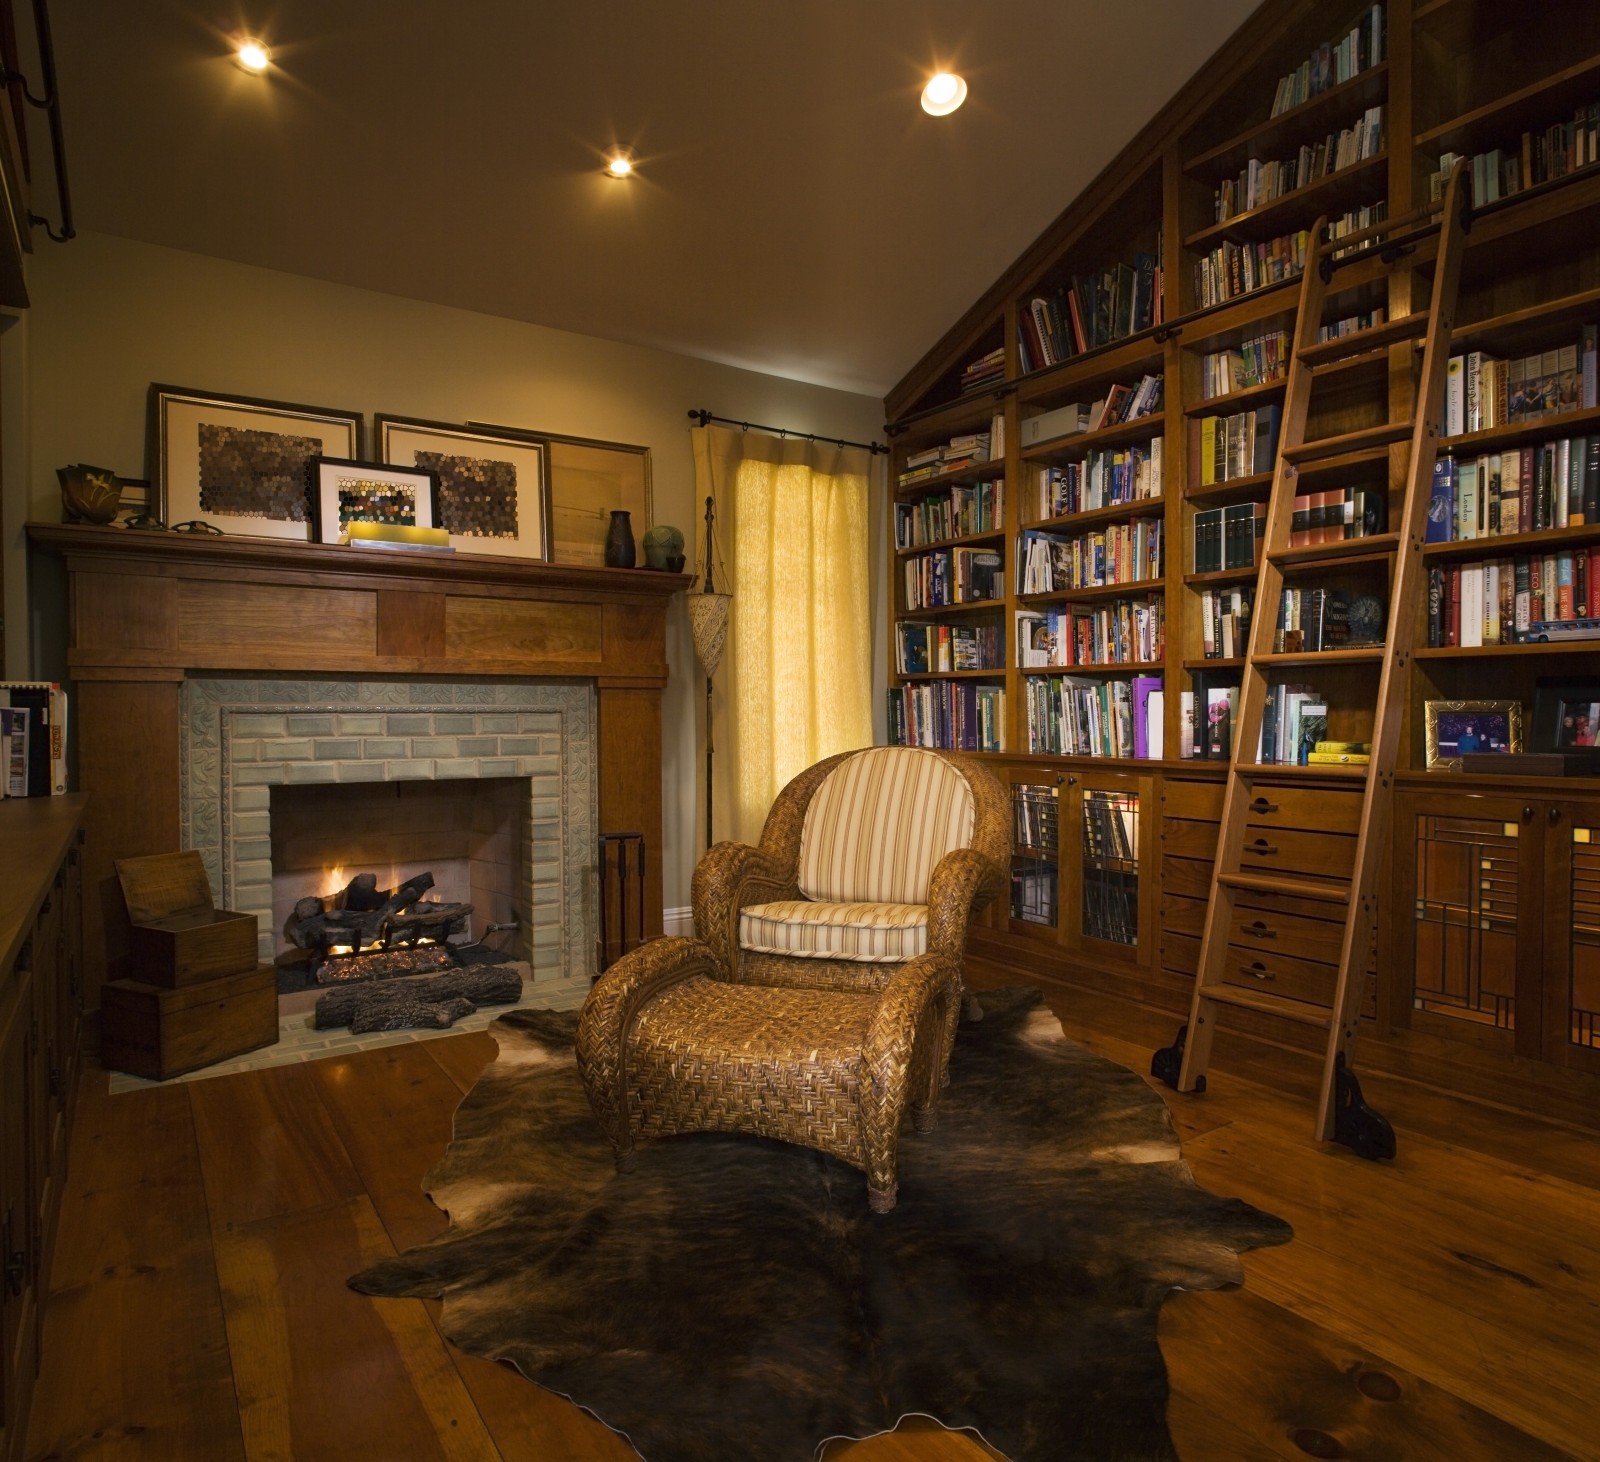
This look is a perfect fit for a snowy winter day. Filled with shelves of leather-bound tomes, tufted chesterfield sofas and focused lighting from brass sconces, the study is the perfect spot to curl up with a favorite novel, enjoy a cup of tea or nap away the afternoon.

Get the look

Built-in bookcases may run up a tab, but two or three flat-pack units arranged tightly in a row can nearly fill a wall without breaking the budget.

Pack them with as many books you can find - the fuller the better. Check out garage sales, thrift shops and library clearance sales for additional hardback books if you're short.

Sure, you may not have a tufted leather sofa on hand, but any love seat positioned in front of the bookcases will look dramatic. Instead of square throw pillows, try round bolsters in the corners for a more formal style.

A vintage rug is ideal underneath, but convincing reproductions can be found online for a fraction of the price.

For the coziest of lighting in the evenings, add sconces to your bookcases. Inexpensive clip-on downlights work perfectly in a pinch. If possible, flank the love seat with a pair of floor reading lamps, swiveled low over the arms of the sofa.

Look 2: The Scandinavian chalet

The vibe

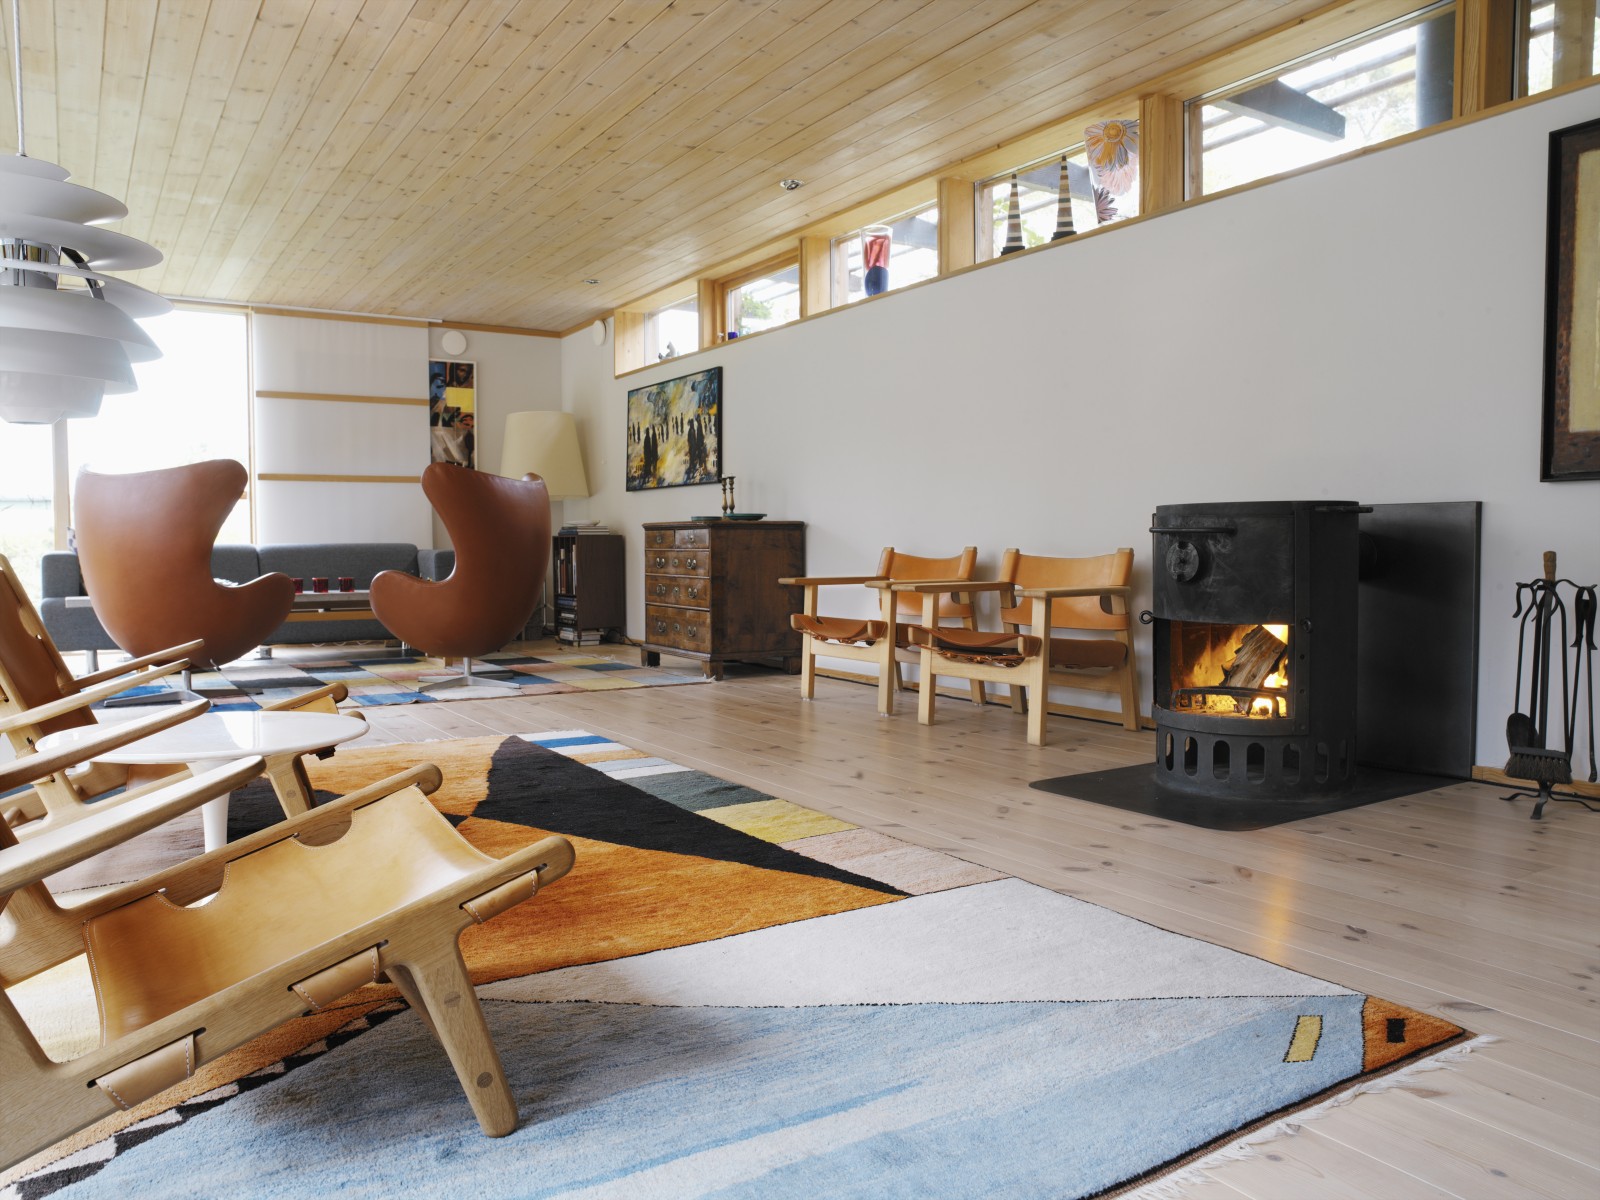
Crisp white paint, whitewashed wood and neutral furnishings make even the gloomiest of days feel bright.

This aesthetic is definitely modern, yet it’s touched with woodsy rusticity and directly connected to nature. Winter-friendly accessories bring in a bit more comfort and prevent the space from feeling cold.

Get the look

Compatible with the popular all-white color scheme, the Scandinavian chalet look can be achieved with a few tweaks - some more involved than others.

For an amazing yet affordable chalet transformation, consider covering one wall (ideally around a fireplace) in inexpensive pine boards. You can run them horizontally or vertically, and you may choose to either paint them to match your other walls or seal them with a whitewash or light gray stain.

Embrace irregularities and small gaps between the boards - they’ll give you the modern, woodsy touch that makes these spaces memorable.

Define a seating area using a generously scaled jute rug. Build on this surface's natural color and texture with pieces of upholstery. If your furniture isn't neutral, try slipcovering it or even tossing a large canvas dropcloth over it.

A stack of substantial floor pillows encourages a more relaxed gathering beside the fire or around a board game. And a faux sheepskin throw or two will further warm the space.

For accessories, try hanging a white papier-mache deer mount over your hearth and stacking paper birch logs beside the fireplace.

For lighting, overscale paper lanterns affixed to a simple plug-in pendant light make a big 1970s Scandinavian statement at minimal cost.

Look 3: The boho nest

The vibe

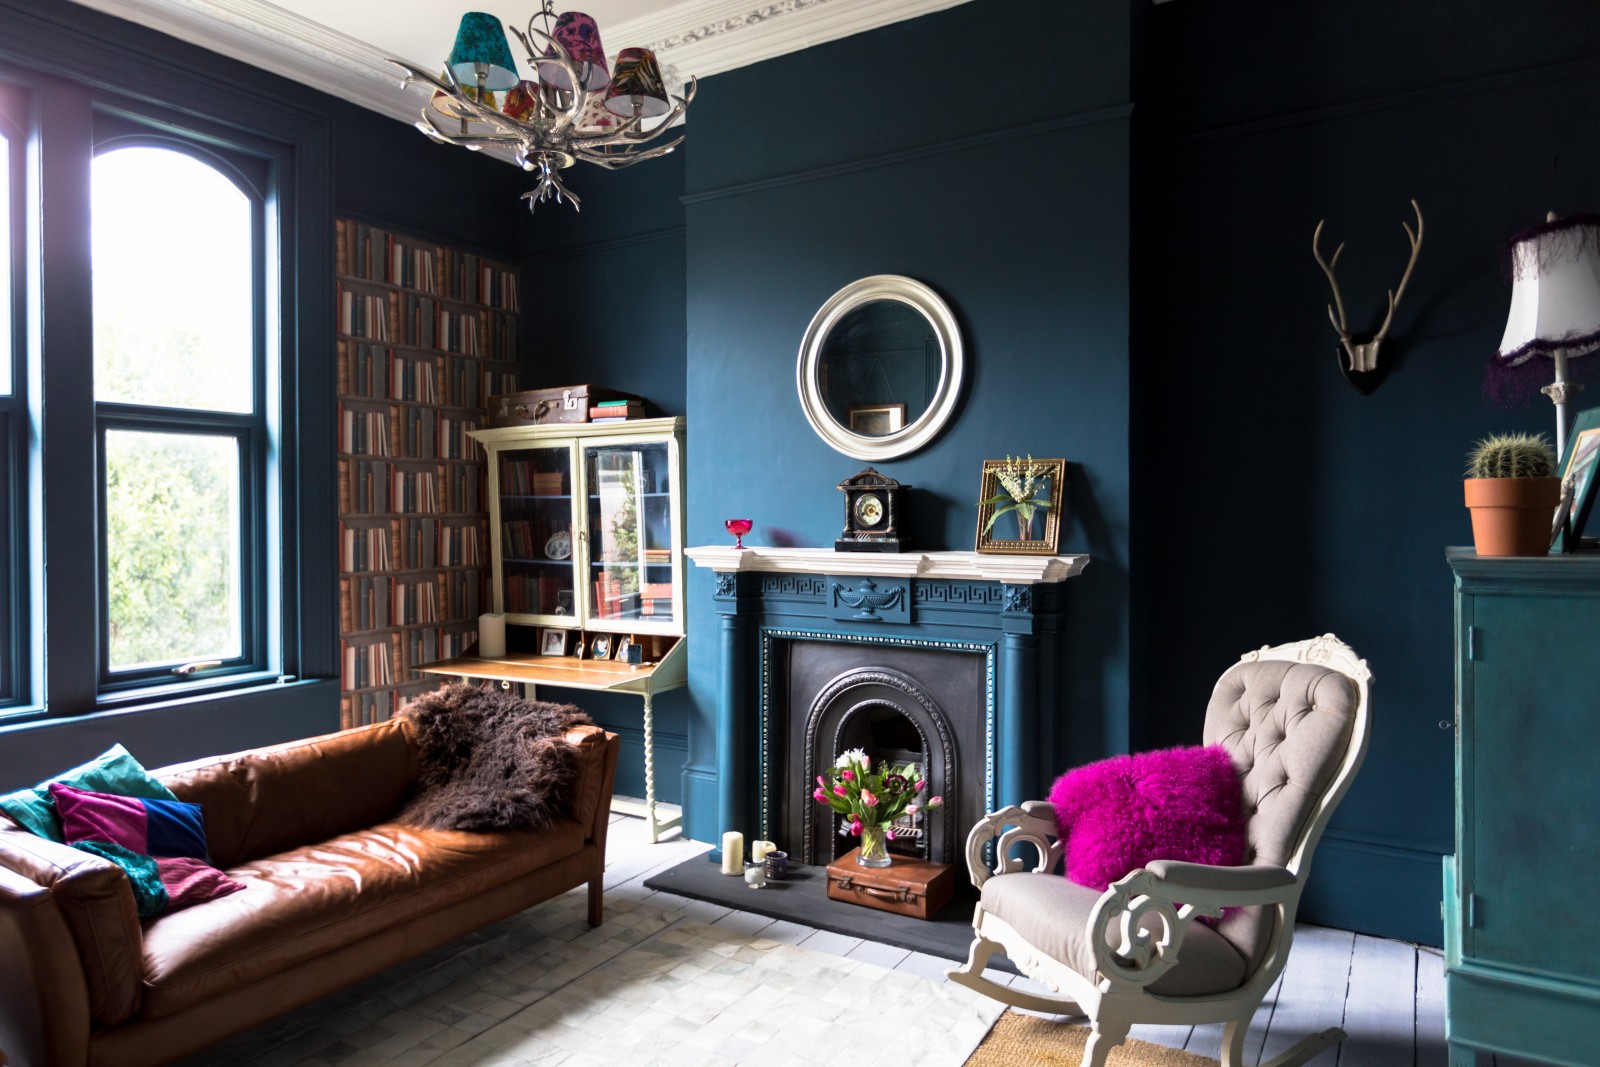
Longing for the warm colors of summer? This look brings them indoors using tapestries, artwork and an abundance of houseplants.

Layering is the name of the game, with floors covered by an arrangement of inexpensive flat-weave rugs, upholstery draped in throws and embroidered pillows, and groupings of mixed-media art on the walls.

Get the look

While many seeking the boho style focus on white walls as a backdrop, you can create a warmer space with a bold color or dark earth tone. Paint one or more of your living room walls to invite contrast.

Start building your nest from the floor up. Instead of purchasing one large expensive rug, try layering a mixture of smaller and more affordable rugs of varying styles and colors for an eclectic and relaxed feel.

If you have walls that feel a little barren, consider draping them with floor-to-ceiling curtains. This will envelop and soften the edges of the room.

If premade ones aren’t in the budget, you can easily make your own perfectly fitted drapes with fabric. Create a simple hem around the edges with a quick pass through the sewing machine or a little bit of ironing with hem tape. Use ring clips to attach the fabric panels to curtain rods.

A gallery wall can also give your living room a warmer feel. While typical galleries consisting solely of framed art tend to be the decorating norm, you can keep the look fresh and more bohemian by integrating a broader spectrum of art types.

Hang clay or wood pieces, textile art, paper sculptures and even wall-clinging plants - like staghorn ferns - to give your gallery wall life and personality.

Related:

Originally published January 2018.

How to Host a Cozy Game Night

It’s cold out there, and whether you’re snowed in or just looking to unwind, it’s the perfect time for game night.

Fun for the whole family or as a night in with friends, game night is all about friendly competition. Decor should be simple, drinks should be hot and the mood should be mellow.

Here’s a DIY and a recipe that are sure to charm even the chilliest guest. (Materials and instructions below!)

Card coasters materials

  • Vintage playing cards - find them at a flea market or yard sale
  • Panel of cork - pick one up at any craft or hardware store
  • Glue

Mulled wine recipe

  • 6 cups of cider
  • 3 cups of orange juice
  • 1-1/2 bottles of red wine - a dry red is best
  • Honey (to taste)

Mix ingredients and simmer until hot. Garnish with a blood orange wheel, an anise pod and a stick of cinnamon. Should serve 10-12 people.

Videography and photography by Mikal Marie Photography

Related:

Originally published January 2016.

Find and Fix Drafty Windows to Keep Your Home Warm and Snug

There's a chill in the air - do you feel it? Rather than wait around for the mercury to plummet, take steps now to ensure that your home remains comfortable through the coldest months of the year.

Besides proper insulation and HVAC maintenance, I recommend taking a close look at your windows. Notorious for air leaks, windows can not only admit cold air but also allow heated air to escape.

There are many ways to seal such drafts - but first you’ve got to find them.

Locate the draft

Here's a quick and easy method of testing the seal on your windows. First, walk through the house and close all the windows as tightly as possible. Next, light a candle. Hold the flame near each window, inches from the glass, slowly moving the candlestick around the seam between the window and its frame.

If the flame bends or flickers while your hand is still, then there's probably an air leak. Mark the trouble spot with a sticky note so you can return to repair it later. Test every window in the house, marking each area where you suspect a draft.

For a more accurate diagnosis, hire a professional to perform an energy audit of your home. Though there’s a cost involved here, many local utility companies offer such services either for free or for a nominal fee. Check with the company that provides your electricity.

It’s certainly worth inquiring, since what professional energy auditors do is a lot more sophisticated than the candle method. They conduct thorough room-by-room assessments - not only for window drafts but also for any other instances of energy inefficiency.

Address the cause

Having pinpointed the locations of window drafts in your house, the next step is to seal them all up.

There are several ways to get the job done. Some methods are inexpensive, temporary and manageable for DIYers. Other more permanent options are quite expensive and best left to contractors. Choose the fix that best fits your needs and budget:

Weatherstripping

Easily affordable, with a price tag of only a few bucks per window, weatherstripping lends itself to easy DIY installation. Purchase the product in your chosen material - felt, foam, plastic or metal are readily available in hardware stores and home centers.

Cut the strips to size and use them to fill the gaps between a window sash and jamb.

Caulking

Whether you’re working inside or outside, you’ll caulk windows in two places: where the window meets the surrounding casing, and where the casing meets the surrounding wall (inside) or siding material (outside).

Tubes of caulk are inexpensive, and with a little practice, easy to use.  If you’ve caulked your windows in the past, that doesn’t mean you’re off the hook - caulk deteriorates over time. It may be time to remove the old caulk and start over.

Draft snakes

You’ve likely seen or even used a draft snake in the past. These are stuffed tubes, placed on a windowsill or under a door, as a modest measure of keeping out the cold and keeping in the warmth.

Buy one at low cost or make your own for next to nothing. If you go the DIY route, you can use virtually any fabric, including extra towels or socks. Fill the middle with batting, rice, potpourri or anything similar you have on hand.

Though decidedly makeshift, draft snakes work well in a pinch.

Insulation film

If you don't plan to open and close the window, try sealing it under a layer of insulation film. Sold by the roll, insulation film either self-adheres or goes on with double-stick tape.

Also available are special shrink-wrap kits that, once heated with a hair dryer or other tool, create an impermeable, airtight seal without visible wrinkles.

Replacement windows

The bad news: It can cost a small fortune to replace the windows in your home. The good news: Upon resale, the average homeowner recoups about 79 percent of what they invested in the replacement.

This isn’t a simple case of out with the old, in with the new. Properly installed, today’s energy-efficient windows minimize drafts and create an overall tighter seal. In fact, Energy Star-rated windows can lower your energy bills by 7-15 percent monthly.

Add a layer of protection

No matter the benefits of replacement windows, many people are either unable or unwilling to cover the initial expense.

If you’re looking for a less costly but permanent solution to window drafts, consider storm windows. Some designs fit within the window on the interior; others cover the window from the outside. Any type can go a long way toward insulating and protecting the windows you currently have.

When it comes down to it, every layer helps. If you do nothing else to remedy the problem, why not at least hang curtains? You stand to gain not only greater comfort but also real savings on your month-to-month heating bills. Don’t get left out in the cold!

Related:

Note: The views and opinions expressed in this article are those of the author and do not necessarily reflect the opinion or position of Zillow.

Originally published October 31, 2014.

Your Top 5 Fireplace Questions, Answered

Fireplaces are one of the most sought-after home features, but using one can be intimidating, and you've probably got questions.

Here's a quick guide to get you and your fire started this fall.

How do I use a wood-burning fireplace?

If a cave man can start a fire, so can you.

1. Get your chimney inspected
Safety is your first priority! Have your fireplace and chimney inspected by a licensed professional. This is something you should do every year, before the first fire of the season.

2. Prepare the fireplace
Clean out any old ashes with a broom (make sure they're cool, of course). Check that the damper is open and working properly.

3. Gather and prep your wood
Use seasoned hardwood that has been split and dried for at least six months - preferably for a year. Seasoned hardwood logs should be dark and cracked at the ends, and they should make a hollow sound when knocked together.

To construct a long-lasting fire, place a rolled-up ball of newspaper beneath the grates. Then lay pieces of narrow, finely split wood in a crisscross pattern on the grates.

Finish the stack by securely resting one to three dry logs over the kindling.

4. Prime the flue
This step heats the cold air inside the flue so you don't get a backup of smoke. Before you light the fire, light a tightly rolled-up sheet of newspaper, and hold it toward the open damper. Keep it there for a minute or two until you see the smoke going up the flue.

5. Light it up!
Now you're ready to light your fire and enjoy.

If the fire starts to go out, gently fan the flames with folded newspaper or use a poker to get the air flowing again. Add logs to the fire with tongs to provide more fuel.

When the fire has gone out for the night, close the metal or glass doors before you go to bed.

Are fireplaces efficient?

It depends. Wood-burning fireplaces, for all their old-fashioned charm, are a wildly wasteful way to heat a house. Since heat rises upward, most of it escapes through the chimney, even when the fire has gone out for the night.

Fireplaces located against an outside wall lose even more heat, since much of it is lost to the cold outdoor air.

Solution? Only use your wood-burning fireplace for special occasions. If you don't plan on using your fireplace often, purchase an inflatable plug to add insulation.

Gas fireplaces are more efficient, and the newest models are realistic enough to make you forget that you don't own any firewood. Switching to a gas insert is expensive, though, especially if you have to make changes to your chimney.

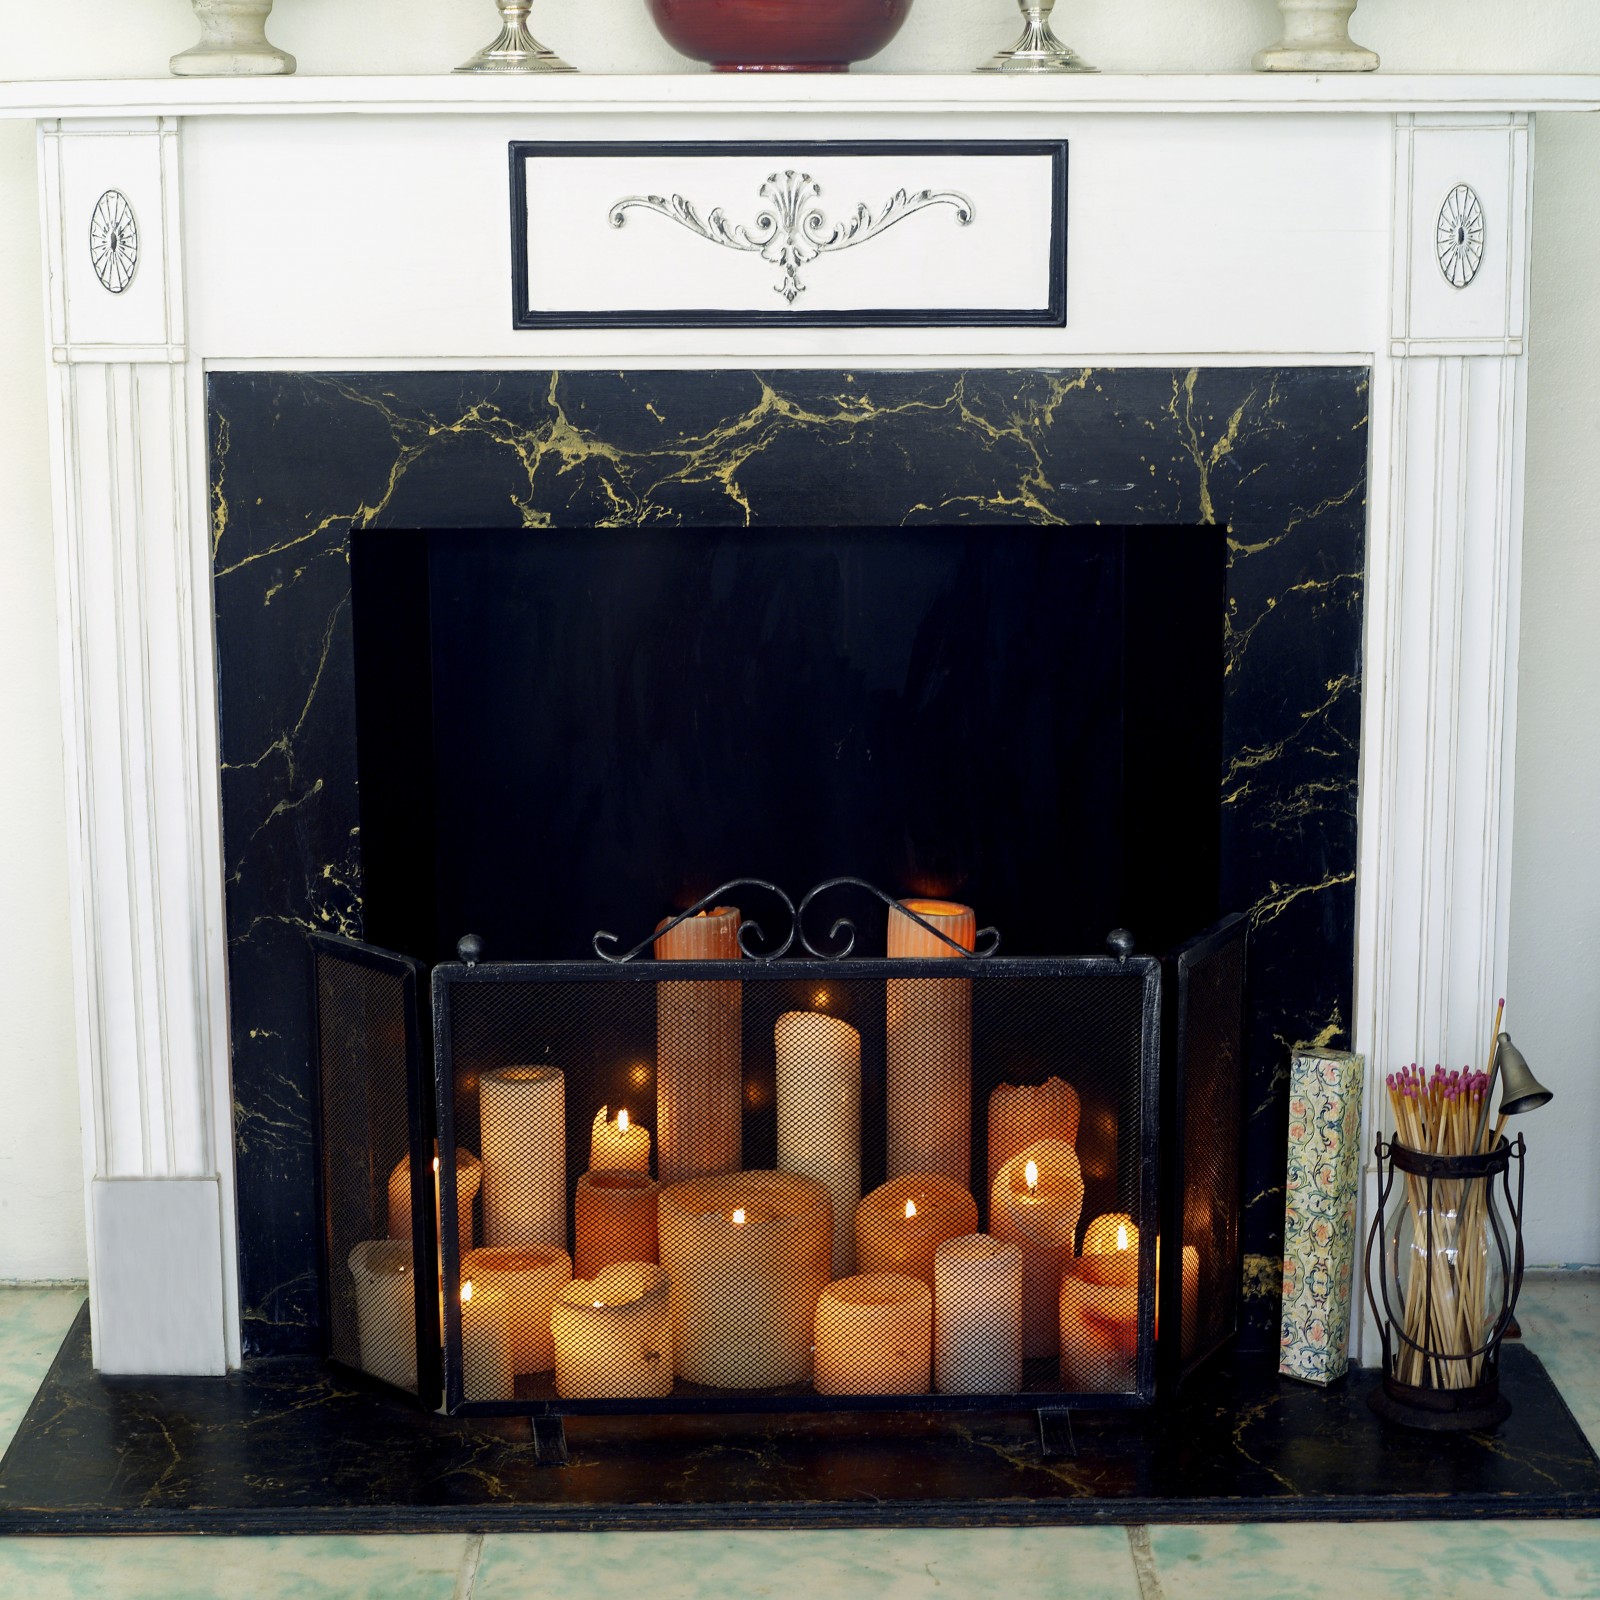
If aesthetics are all that matter, use your fireplace to display lit candles.

Are fireplaces safe?

Fire is the very definition of unsafe, but that doesn't mean you can't safely enjoy your fireplace. You just have to maintain it and practice common sense:

  • Keep flammable materials and objects away from the fireplace, and store firewood well away from the house.
  • To keep embers from flying out and igniting your unread stack of magazines, use a mesh or metal screen when the fire is lit.
  • Before lighting the first fire of the season, inspect your extinguishers, test your smoke detectors and review your family's evacuation routes.
  • Continue to test your smoke and carbon monoxide detectors monthly.
  • The glass doors, mesh screen and tools can be dangerously hot. If you have children, use a free-standing barrier to prevent burns.

Wood-burning fireplaces produce smoke that can irritate or even damage your lungs, even with a properly functioning chimney. To keep smoke from filling your house, ensure that the damper is open, your home is ventilated, and the chimney has been inspected and cleared of obstructions.

Carbon monoxide is produced by both gas and wood-burning fireplaces, and it's especially dangerous because it's invisible, silent and odorless. Use carbon monoxide detectors and inspect them regularly.

Why does my gas fireplace smell?

What you smell is an additive that's been included in the propane to help you detect gas leaks.

Vent-free gas fireplaces typically come with an oxygen depletion sensor that will shut off the flame if too much carbon monoxide is detected, and vented fireplaces pull fumes away from the house.

These safety measures aren't foolproof, however, so ensure that you have carbon monoxide detectors installed, and inspect them monthly by pressing the "Test" button.

How often should I clean my chimney?

A buildup of soot and creosote is more than unsightly: It can reduce airflow, cause smoke to back up and even create a fire risk.

To avoid a chimney fire, have your fireplace and chimney inspected annually by a licensed professional. They will likely recommend a cleaning when the layer of residue is about 1/8 of an inch thick.

To clean inside the fireplace, put on a dust mask, sweep out the ashes, and scrub the surfaces with a brush and dishwashing liquid.

Related:

Realtor MLS Logo
© 2020 Russell Rich Real Estate | All Rights Reserved