Archive for the ‘Home Improvement’ Category:

Quiz: Should You Renovate Your Home or Sell?

Most homeowners have that one thing about their home that they wish were different.

For some, the home’s fatal flaw exists outside the four walls. Maybe the house backs up to a creek that floods whenever it rains, resulting in a squishy backyard and mosquitoes. Or perhaps the home is located on a busy street that generates too much traffic noise. It could just be that the house is too far from the homeowner’s job, and the long commute has gotten old.

If you’re feeling discontent with your home, you may be thinking about renovating … or getting out entirely. But before you knock down walls or put your home on the market, check out our quiz - it could help you think differently about your situation.


Related:

Originally published March 2018.

8 Curb Appeal Boosters You Can Do in a Weekend

A polished home exterior creates an inviting experience for visitors or passersby, which is especially important if your home is on the market.

Check out our tips to get the most curb appeal for the lowest cost - while turning your neighbors' heads and getting prospective buyers to your door.

Clean up

The easiest way to enhance curb appeal is dedicating a weekend to deep cleaning your home’s exterior.

Sure, you'll want to trim bushes, sweep and mow your lawn, but there's more to curb appeal than keeping a tidy front yard. Turn the nozzle on your garden hose to the strongest setting and clean off your driveway, sidewalk, windows and fence.

If dirt and grime are caked on your home's exterior, you can rent a powerwasher for around $50 to $75 a day. Just avoid areas with caulking, like windows and doors, because you can strip some of the sealing. And as tempting as it may be to powerwash your roof, don’t do it -  you may damage the shingles’ coating.

When it comes to your windows, spraying them with a garden hose isn't enough. For maximum sparkle, clean your windows outside and inside. Instead of relying on a glass cleaner, try a mix of detergent diluted in warm water.

Add shutters

Shutters are an easy way to accentuate the size of your windows. They make your windows look larger and add visual interest by disrupting a bland exterior wall. For maximum curb appeal, choose a shutter color that contrasts with your home’s color to make it pop.

Paint accent areas

Paint is a quick and easy curb appeal booster. Instead of painting the entire exterior of your home, focus on the trim, door and shutters.

You can typically find a gallon of exterior paint for $20 to $30. But before you decide on a color, consider home exterior color trends, along with your home's natural style.

Give your door a face lift

If you don’t love your front door, you don't need to dish out loads of money to replace it. Think beyond paint - consider adding molding, which offers a decorative frame for your door that welcomes visitors.

You can also add metal house numbers, which you can find for as low as $5 a number. And if seasonally appropriate, consider adding a wreath to your door as a bonus.

Replace your house numbers

If you'd rather not add house numbers to your freshly painted door, here are some alternative DIY ideas:

  • Paint a terra-cotta planter with your house number and place it by your doorstep.
  • Add house numbers to a post planter near your front porch.
  • Use your front porch stair riser’s real estate by hanging or painting numbers there.

Update your light fixtures

Replacing your exterior light fixtures is another curb appeal must. You can usually find outdoor sconces for around $20 at home centers. Just make sure your new light fixtures have the same mounting system. And if you want to save on lighting, a fresh finish can do wonders. Try spray-painting them - a can of spray paint costs around $10.

Keep porch furniture neutral

Just as you would aim to simplify the interior of your home so shoppers can envision themselves living there, the exterior of your home should be neutral and welcoming too.

Put your pink flamingo and wind chime collection into storage, and focus on porch decor that offers pops of color and character. You can find brightly colored outdoor chairs or throw pillows for $20 to $30 each.

Don’t forget the small things

These low-budget fixes make a big impact, so don’t forget the little details!

  • Upgrade your mailbox: Install a new mailbox for under $100, or spray paint your existing mailbox.
  • Plant a tree: A charming tree can up your curb appeal for as low as $20.
  • Build a tree bench: If you already have a tree you love, build a bench around it! Great for napping, picnicking or just hiding exposed roots, a wraparound tree bench costs only what you spend on boards and screws.
  • Install flower boxes: For around $20 each, flower boxes are a quick way to add some life and color to your windows. If flower boxes sound like too much work, try a container garden in pots by your front porch.
  • Hide eyesores: Place a small lattice fence or a side of paneling around your air conditioner, and hide your trash bins behind a small fence. You can also hide your hose in a pot or storage bench.

Related:

Originally published March 2018.

3 Must-Do’s Before Listing Your House for Sale

Planning to sell your house this year? Now’s the perfect time to prep it for listing!

Set aside a couple of weekends to do the work, and follow these three steps. Then, get ready to make a great impression on potential buyers and cinch the deal.

Step 1: Clean and declutter

It may sound obvious, but the importance of cleaning and decluttering cannot be overstated. Here are some ideas to make this process nearly painless.

  • Eliminate clutter before cleaning: This is the time to purge your house of unwanted and unnecessary items. In addition to donating items to charity, consider giving them away through Craigslist or neighborhood sharing groups. Recyclers are often willing to pick up and haul away large metal items for free.
  • Deep clean your house: This step will probably involve the biggest time investment. Get the whole family involved if you can! Think of this as a pumped-up spring cleaning. Pay special attention to kitchens and bathrooms, and clean the inside and outside of your windows - this makes a striking improvement in the overall appearance of your house.
  • Organize closets, cabinets and drawers: In this case, out of sight is not out of mind. Many potential buyers will open cabinets and closets, because they are thinking about storage space. Clean and organized storage areas signal to buyers that you take care of the house.

Step 2: Make small repairs

Take care of these problems before you show the house for the first time. These are all fixes that you can do yourself.

  • Fix any leaking faucets and running toilets.
  • Replace caulking around tubs, showers and sinks.
  • Freshen up or repair grout as needed.
  • Repair walls and repaint them in a neutral, generally pleasing color that complements your home.
  • Fix cracked or broken windows.
  • Replace or repair damaged window screens.
  • Replace burned-out lightbulbs.

Step 3: Go for curb appeal

You want potential buyers to be charmed by the outside of your house so they look forward to coming inside. Extend your pumped-up spring cleaning to the outside of your house too.

  • Trim bushes, shrubs and trees. Make sure vegetation isn’t touching your roof or siding.
  • Repair broken downspouts and gutters.
  • If it's appropriate for your yard, apply new mulch, river rock and/or pea gravel. This can do wonders for your landscaping and provide immediate curb appeal.
  • Clean and repair concrete areas, such as driveways and walkways. Eliminate any oil or grease stains, and clean out any weeds coming up through the cracks.
  • If it's seasonally appropriate, put out some pots of annuals, which will maintain their color for the season. Freshen up your doorstep with a new welcome mat and make sure the house numbers are easy to see.

With just a moderate amount of effort, you can make your house beautiful and welcoming, both inside and out.

Ready to put your home on the market? Check out our Home Sellers Guide for more tips and resources.

Related:

Originally published March 2017.

Quiz: How Much Do You Love Your Home?

Your life changes over time: new relationships, new jobs, new hobbies. Sometimes, you can make changes to your home to adapt to your lifestyle - but sometimes you can't. And the hardest part? Knowing when to let go.

Take our quiz to find out your relationship status - with your living space.


Related:

Furnace, Boiler or Heat Pump? Time for Heating Systems 101

Heating your home accounts for an inordinate portion of your utility bill, so it pays to choose the most efficient heating system possible. This doesn't necessarily mean you should upgrade to a different type of system, however.

Generally speaking, it's a bad idea to convert from forced air to central heating, or vice versa, since the benefits rarely justify the cost. Instead, upgrade to a more efficient version of your existing furnace or boiler when it's too expensive to repair - but weigh your options carefully.

Here's a rundown of the most commonly used heating systems, along with their advantages and disadvantages, to help you make the most appropriate choice for your home, climate and wallet.

Furnaces

Also known as forced air, furnaces are the most commonly used heating systems in the U.S. because they're reliable and relatively inexpensive. Gas furnaces are rated for efficiency by their annual fuel utilization efficiency (AFUE) rating. This shows how much energy is successfully converted to usable heat.

If your furnace needs to be replaced, the silver lining is that modern furnaces are more efficient than ever, and some premium models even reach an AFUE rating of 97 percent. When purchasing a furnace, choose one that's appropriately sized for your home so that it doesn't put undue wear and tear on your system or waste energy.

Pros Cons
  • Inexpensive to install
  • Reliable and low-maintenance
  • Have a long life span, especially electric models
  • Can be retrofitted to filter and clean your home's air
  • Already installed in most homes, thus easier to replace
  • Can produce and kick up more allergens
  • Warm air is easily lost through ducts and within the house
  • Gas furnaces can be dangerous, creating a risk of fire or carbon monoxide poisoning
  • Furnaces powered by electricity are safer, but cost more to run

Boilers

Boilers use water to generate and distribute heat through pipes and radiators, heating the air, floors, wall and baseboards as it travels in a loop. They can be powered via natural gas, electricity or propane, and they use the following systems to distribute heat:

  • Steam radiators are the old-fashioned metal things you've seen along the walls in older buildings.
  • Hot water radiators are the newer reincarnation and allow more control and versatility.
  • Hydronic radiant floor heating treats the entire floor of a room like a giant radiator, using tubing under the flooring to distribute heat to toasty toes. While efficient, hydronic radiant floor heating is expensive to install and replace.

Like furnaces, boilers are rated by AFUE score.

Pros Cons
  • Usually runs more quietly than forced air systems
  • Doesn't kick up dust, which makes for much better air quality
  • Can be retrofitted to heat water
  • Can be more efficient than forced air systems
  • Boilers are often more expensive to purchase and install than forced air systems
  • Water can leak when the system is damaged or nears the end of its life
  • Most boilers are powered by natural gas, which isn't available in all areas
  • Aren't necessary in areas with mild winters

Heat pumps

These extremely efficient systems take advantage of existing temperatures (either outdoors, underwater or underground) to heat, cool and humidify your home.

There are three types of heat pumps:

  • Air-source heat pumps are the most common and circulate refrigerant between the outdoor heat pump and indoor air handler.
  • Split ductless systems use one to four indoor air handlers, which are mounted high up on walls and controlled by a remote.
  • Geothermal systems are incredibly efficient because they take advantage of temperatures in the ground, pond or a well, but they aren't practical or affordable for most homeowners.

When selecting a heat pump system, consider the size, noise output and efficiency rating. The heating efficiency is measured by heating seasonal performance factor (HSPF), and the cooling efficiency is measured by seasonal energy efficiency ratio (SEER).

Pros Cons
  • Very efficient, saving lots of money in the long run
  • Can be used all year for both heating and cooling
  • Can be modified with a desuperheater, which assists in heating your water
  • Newer models are appropriate for colder climates
  • Naturally dehumidifies the home in summer, making it ideal for the Southeast
  • More expensive than forced air or central heating
  • Inappropriate for small lots
  • Fans can be noisy
  • Requires more maintenance than other systems
  • In cold climates, you may require an auxiliary heating system that kicks in when temperatures become too low

Related:

What Your Houseplants Need to Make It Through Winter

It isn't just you - your houseplants really do look worse in winter. Blame it on dry air, shorter days, changing light patterns, cold drafts - and the fact that some plants go nearly dormant in winter anyway, even in their own habitat.

These obstacles make houseplants more vulnerable to problems like overwatering, poor drainage and pests than ever before, but don't let it bring you down. Instead of counting down the days until spring comes - or your plant dies on its own - follow these guidelines to keep your plants healthy all season long.

Identify your plant's unique needs

Start by treating each plant as an individual. This is especially important in winter. Some plants go dormant and need drier soil, low light and cooler air, while others still want moist soil, bright light and warm, humid air.

So, do a little research. Perform a quick search on your phone or visit the bookstore or library to identify your plants and determine their needs.

If you're still unsure of their identities, follow the general guidelines below and assume they need lightly moist soil, good drainage, ventilation, humidity and a little more attention to keep them pest- and disease-free.

Water the right way

Before you water, make sure your pot has a drainage hole to prevent rot and a saucer to catch excess moisture.

When the top half-inch of soil is dry, water thoroughly with a watering can that has a narrow spout, which keeps you from splashing the leaves and inadvertently spreading soilborne diseases.

Watering deeply promotes healthier root growth and flushes out any excess salts from your tap water that may have accumulated over time.

Provide humidity for jungle plants

Winter’s dry air is uncomfortable for us, but it's even more uncomfortable for houseplants. After all, most common indoor plants come from steamy tropical forests, so they have a hard enough time adapting to household habitats. Worse yet, dry air also leads to pest infestations, like spider mites and mealybugs.

To prevent dry leaves and create a humid microclimate for your jungle-dwelling houseplants, place them on a tray of pebbles and fill the tray halfway with water, which will slowly evaporate and give the immediate area a humidity boost. Otherwise, mist the leaves twice a day or refer to the tip below.

Group plants together by needs

Since houseplants seem to struggle more in winter, group them together by needs to simplify your life and prolong theirs.

For plants that are actively growing (most common houseplants fit this description), choose a well-lit bathroom or kitchen so they can benefit from the extra humidity created by running water.

Place desert plants like cacti and succulents in a south-facing window so they can receive the maximum amount of direct sunlight.

If you have subtropical bulbs or flowering plants that require a rest in winter, place them in a cool area with indirect light and only water them when the potting mix is dry.

Inspect whenever you water

Having a green thumb has nothing to do with luck and everything to do with being observant. Every time you water your houseplants, look closely at the leaves, stems and potting mix. You have nothing else to do while standing there with your watering can, so take the time to appreciate your plant's uniquely patterned leaves and - wait, was that a bug?

Even if you couldn't identify a mealybug if your life depended on it, you'll discover (and remove) all sorts of things if you wipe the leaves occasionally with a damp rag and cotton swab.

Prevent the spread of pests and diseases

Houseplants are especially prone to bacterial diseases this time of year, so pay close attention to them.

Remove and discard any dead leaves that appear or fall in the potting mix - they make ideal hiding places and breeding grounds for pests and diseases. To prevent stagnant air around your plants, increase ventilation with a small fan.

Wash your hands and tools before and after handling them, and immediately separate or discard any diseased or infested plants so they can recover without infecting the others. If the leaves are stunted, mottled and twisted, the plant likely has a virus and should be discarded immediately.

Related:

Originally published February 2017.

Get the Look: 3 Ideas for Turning Your Home Into a Winter Haven

What better time to turn your home into a warm and welcoming den than during the chilly winter months? With just a little investment and some ingenuity, you can bring a distinctive winter-friendly look into your home.

Here are three concepts to inspire you - and some tips to get you started.

Look 1: The British study

The vibe

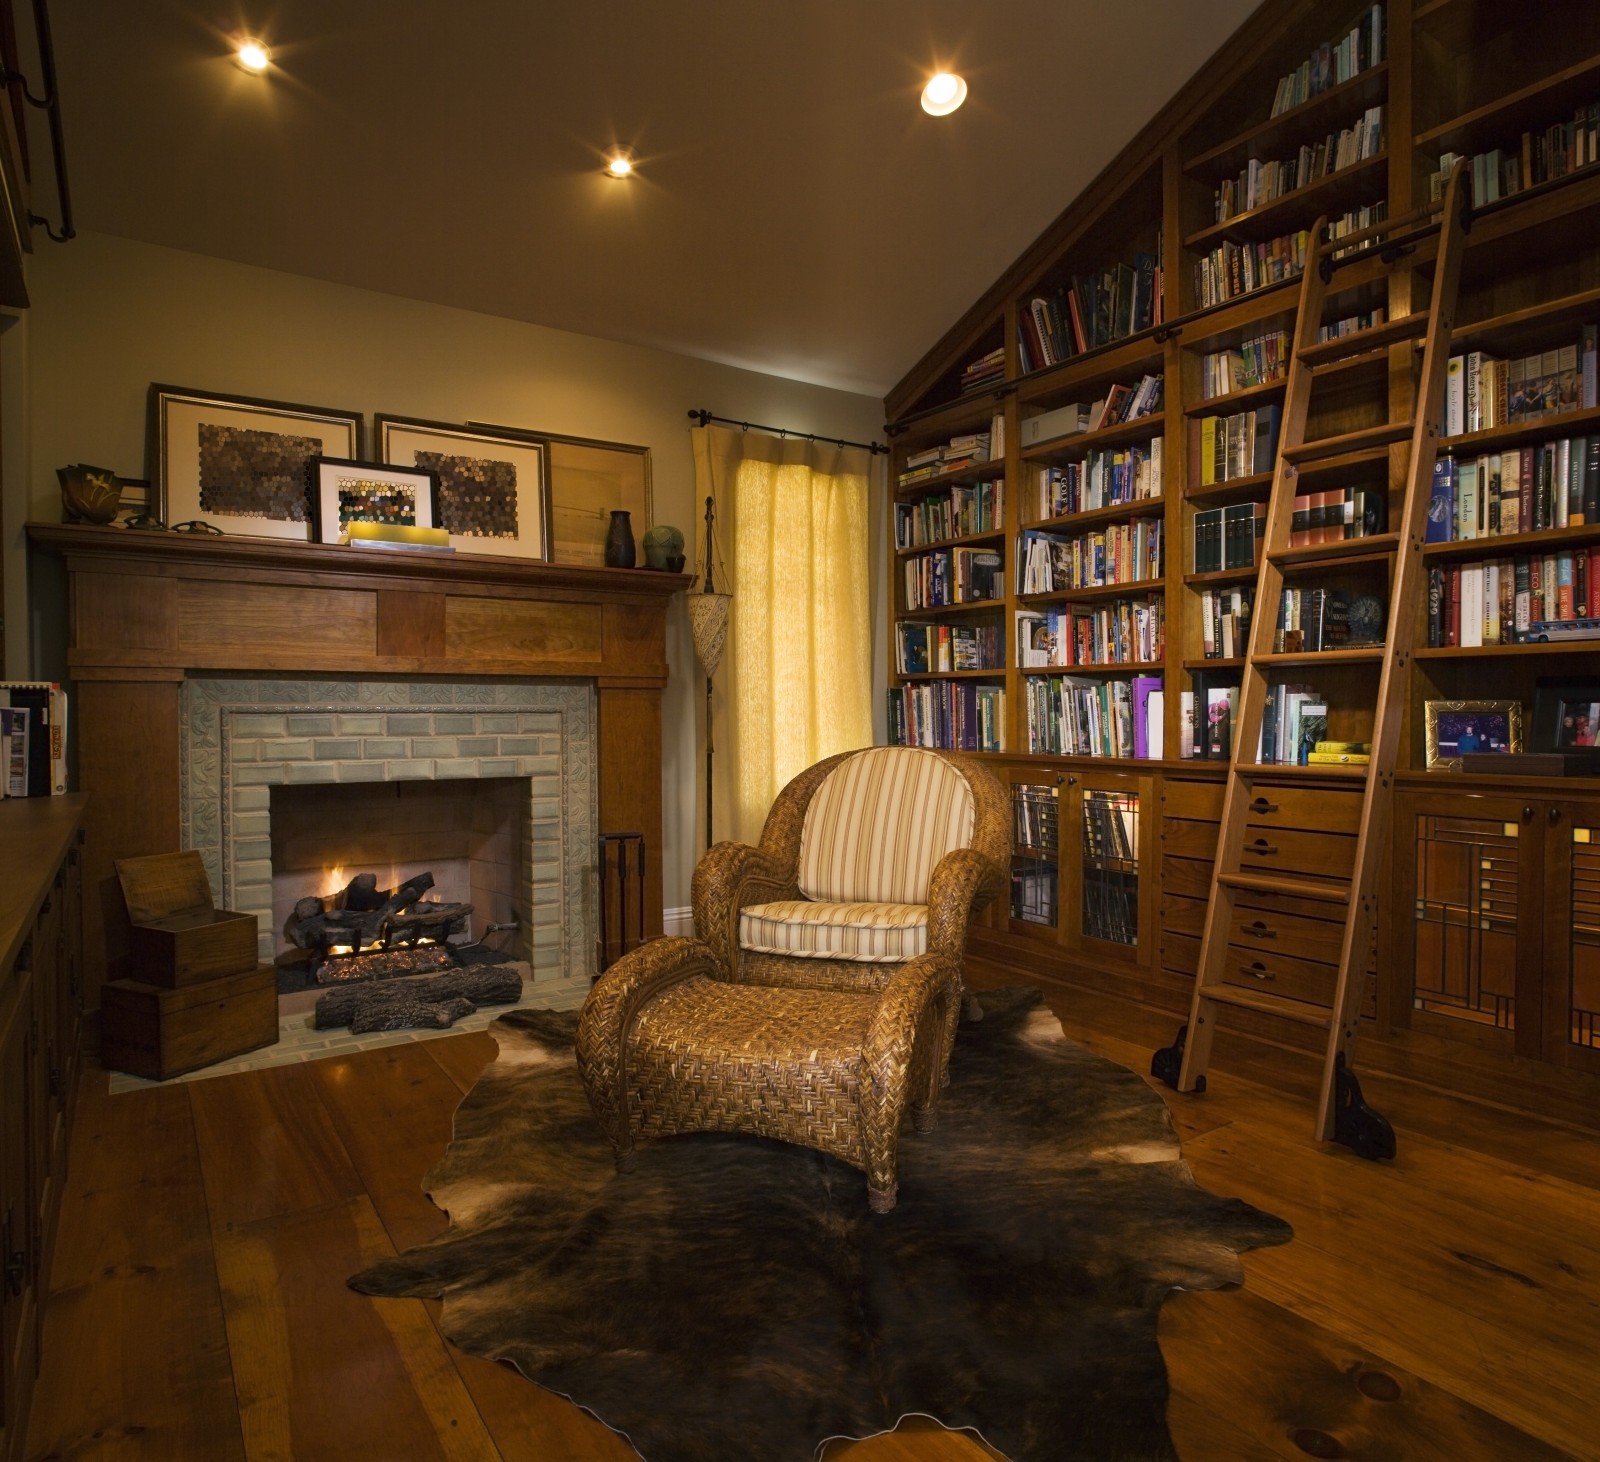
This look is a perfect fit for a snowy winter day. Filled with shelves of leather-bound tomes, tufted chesterfield sofas and focused lighting from brass sconces, the study is the perfect spot to curl up with a favorite novel, enjoy a cup of tea or nap away the afternoon.

Get the look

Built-in bookcases may run up a tab, but two or three flat-pack units arranged tightly in a row can nearly fill a wall without breaking the budget.

Pack them with as many books you can find - the fuller the better. Check out garage sales, thrift shops and library clearance sales for additional hardback books if you're short.

Sure, you may not have a tufted leather sofa on hand, but any love seat positioned in front of the bookcases will look dramatic. Instead of square throw pillows, try round bolsters in the corners for a more formal style.

A vintage rug is ideal underneath, but convincing reproductions can be found online for a fraction of the price.

For the coziest of lighting in the evenings, add sconces to your bookcases. Inexpensive clip-on downlights work perfectly in a pinch. If possible, flank the love seat with a pair of floor reading lamps, swiveled low over the arms of the sofa.

Look 2: The Scandinavian chalet

The vibe

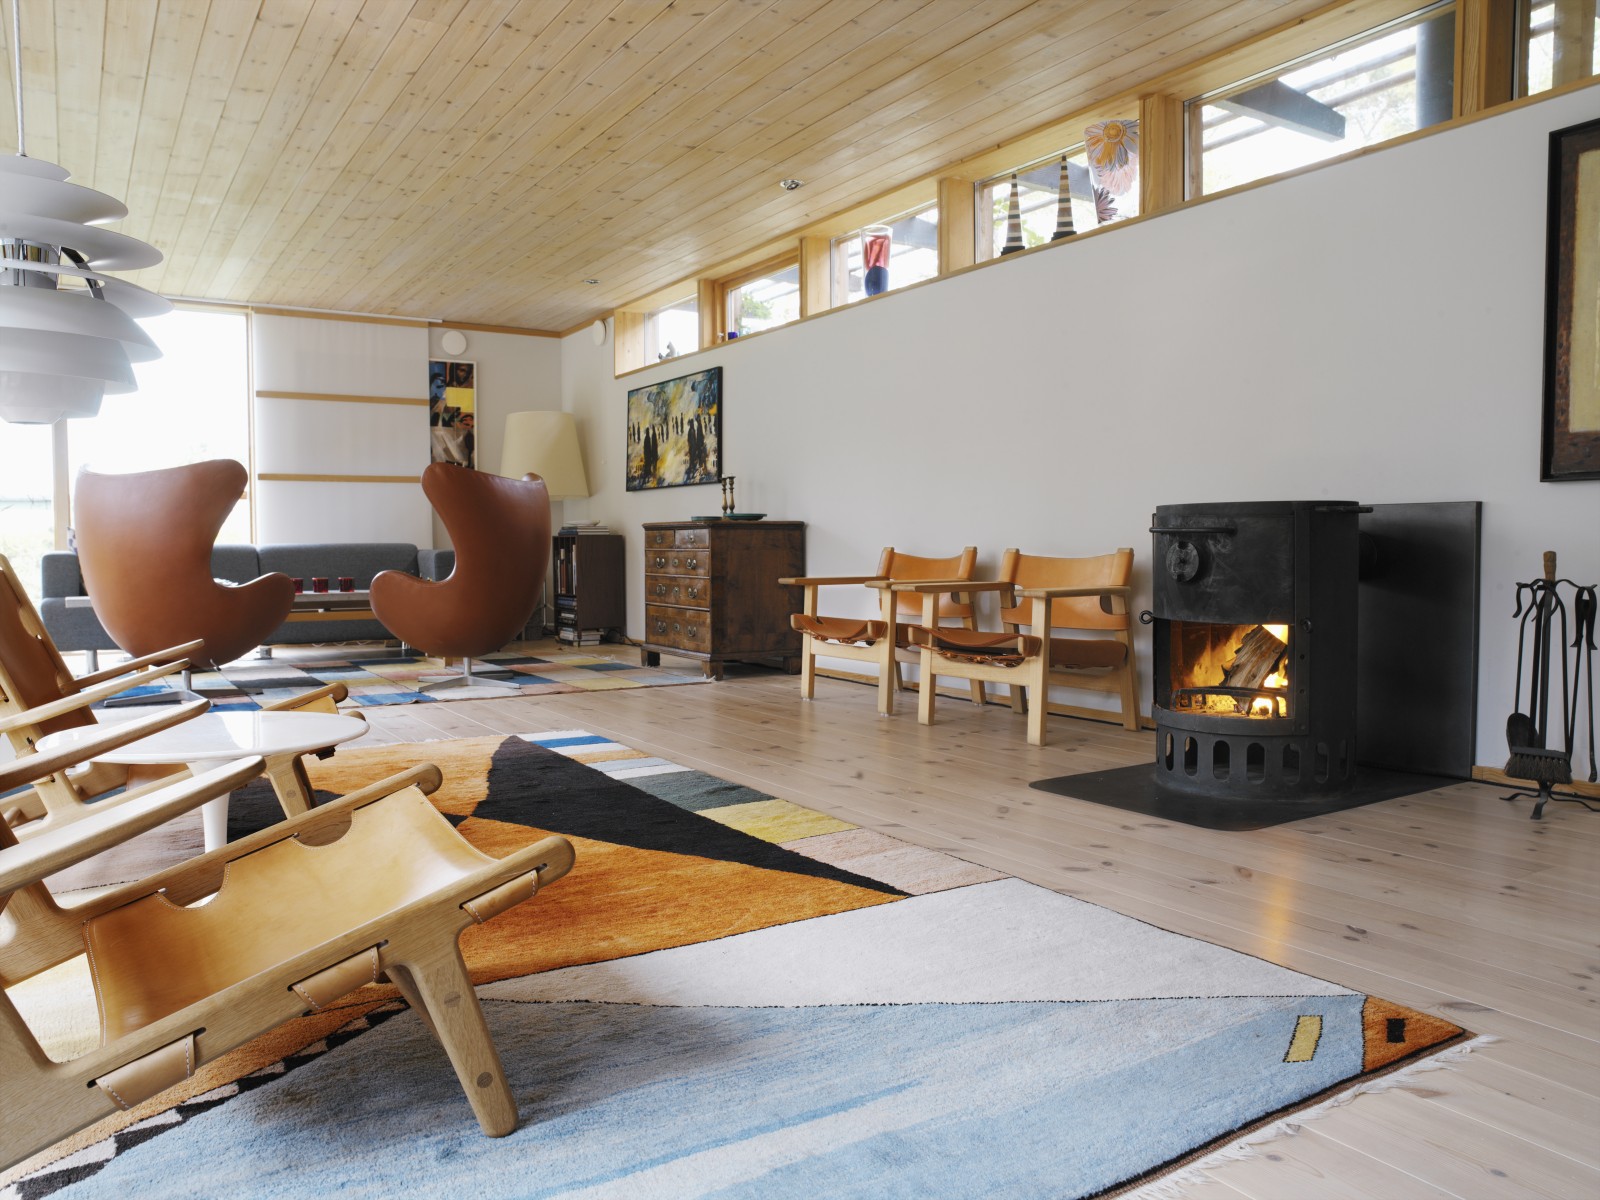
Crisp white paint, whitewashed wood and neutral furnishings make even the gloomiest of days feel bright.

This aesthetic is definitely modern, yet it’s touched with woodsy rusticity and directly connected to nature. Winter-friendly accessories bring in a bit more comfort and prevent the space from feeling cold.

Get the look

Compatible with the popular all-white color scheme, the Scandinavian chalet look can be achieved with a few tweaks - some more involved than others.

For an amazing yet affordable chalet transformation, consider covering one wall (ideally around a fireplace) in inexpensive pine boards. You can run them horizontally or vertically, and you may choose to either paint them to match your other walls or seal them with a whitewash or light gray stain.

Embrace irregularities and small gaps between the boards - they’ll give you the modern, woodsy touch that makes these spaces memorable.

Define a seating area using a generously scaled jute rug. Build on this surface's natural color and texture with pieces of upholstery. If your furniture isn't neutral, try slipcovering it or even tossing a large canvas dropcloth over it.

A stack of substantial floor pillows encourages a more relaxed gathering beside the fire or around a board game. And a faux sheepskin throw or two will further warm the space.

For accessories, try hanging a white papier-mache deer mount over your hearth and stacking paper birch logs beside the fireplace.

For lighting, overscale paper lanterns affixed to a simple plug-in pendant light make a big 1970s Scandinavian statement at minimal cost.

Look 3: The boho nest

The vibe

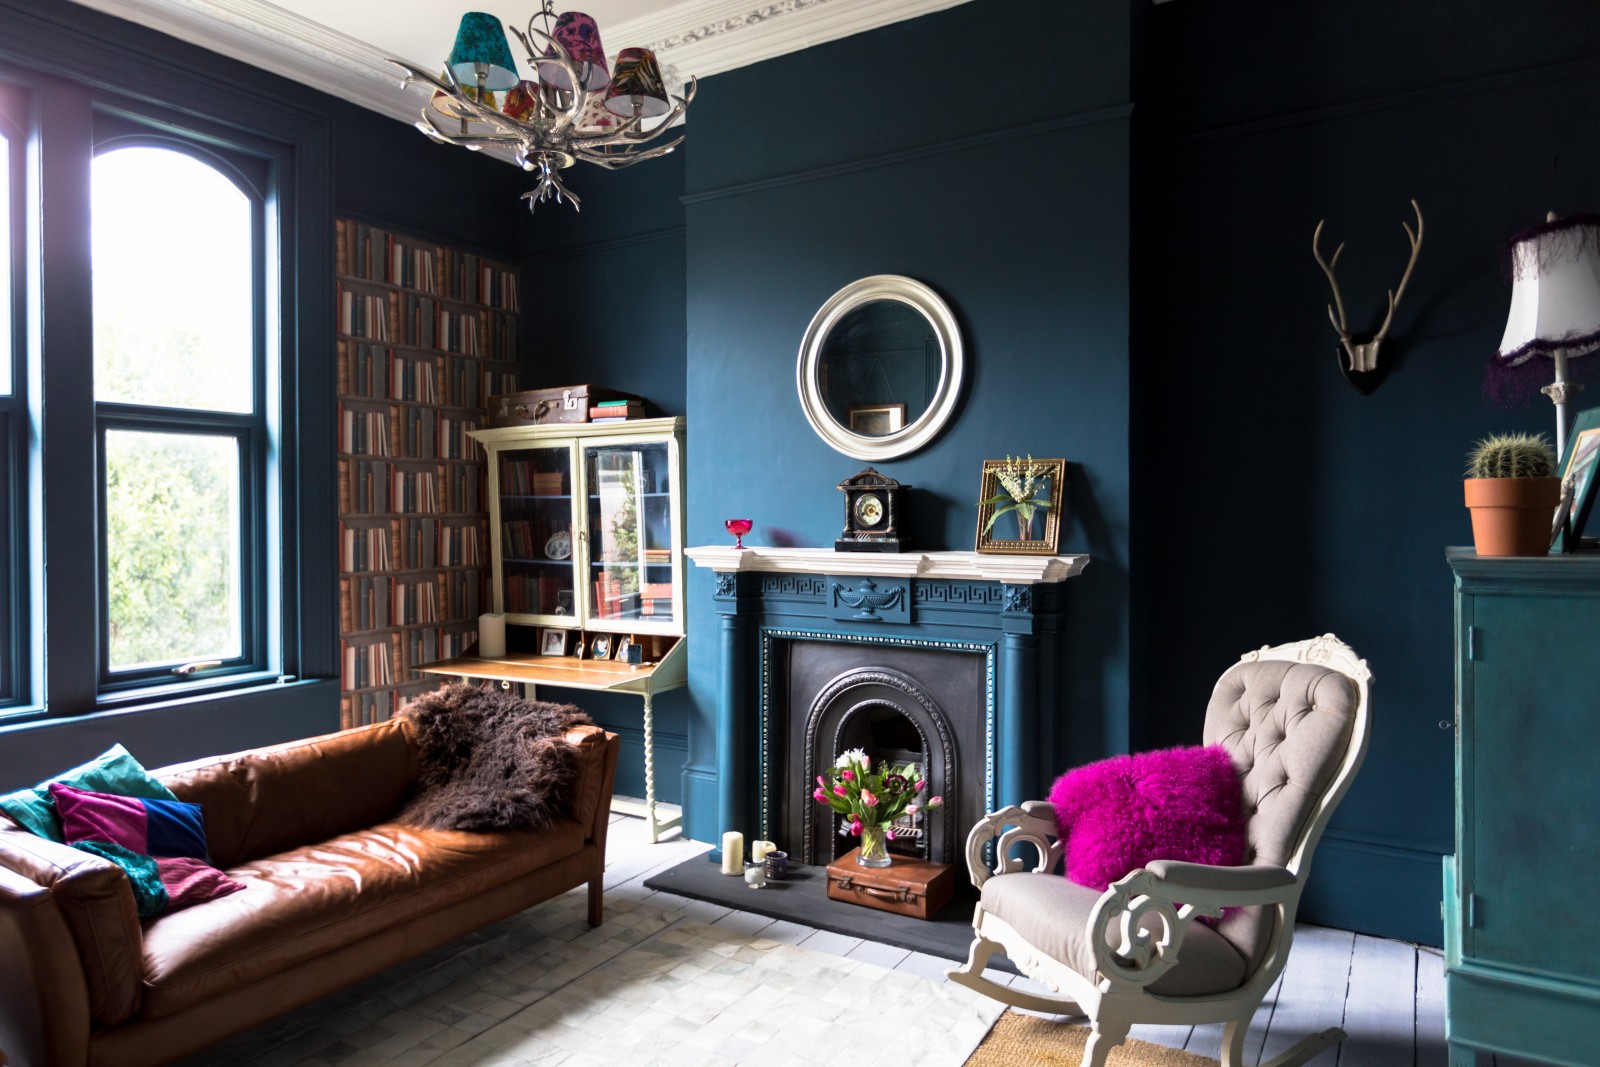
Longing for the warm colors of summer? This look brings them indoors using tapestries, artwork and an abundance of houseplants.

Layering is the name of the game, with floors covered by an arrangement of inexpensive flat-weave rugs, upholstery draped in throws and embroidered pillows, and groupings of mixed-media art on the walls.

Get the look

While many seeking the boho style focus on white walls as a backdrop, you can create a warmer space with a bold color or dark earth tone. Paint one or more of your living room walls to invite contrast.

Start building your nest from the floor up. Instead of purchasing one large expensive rug, try layering a mixture of smaller and more affordable rugs of varying styles and colors for an eclectic and relaxed feel.

If you have walls that feel a little barren, consider draping them with floor-to-ceiling curtains. This will envelop and soften the edges of the room.

If premade ones aren’t in the budget, you can easily make your own perfectly fitted drapes with fabric. Create a simple hem around the edges with a quick pass through the sewing machine or a little bit of ironing with hem tape. Use ring clips to attach the fabric panels to curtain rods.

A gallery wall can also give your living room a warmer feel. While typical galleries consisting solely of framed art tend to be the decorating norm, you can keep the look fresh and more bohemian by integrating a broader spectrum of art types.

Hang clay or wood pieces, textile art, paper sculptures and even wall-clinging plants - like staghorn ferns - to give your gallery wall life and personality.

Related:

Originally published January 2018.

2019 Design Forecast: What’s In, What’s Out

As we flip to the last pages of our 2018 calendar, it’s time to look at interior design trends on the rise - and say goodbye to those on their way out in 2019.

Here are our predictions about what’s in and what’s out in the year to come.

What’s in

Warm modernism

It’s official - many regions throughout the U.S. are choosing a modern aesthetic over a rustic style.

While black-and-white contrast and raw materials like steel and wood will continue to be popular, they’ll be softened by color and asymmetry. These modern elements will have a fresh approachability when surrounded by sun-soaked fabrics and natural wallcoverings.

Effortless technology and transformations

Talk-to-me tech products help you get things done with your voice, and homeowners are using them to modernize their daily routine.

In 2019 you’ll see smart faucets, fans, window coverings and appliances paired with popular platforms - Google Home, Amazon Alexa and Apple HomePod - for a convenient, connected home.

Additionally, products that offer easy installation and seamless integration into existing layouts make projects remodel-friendly. Innovative sinks, faucets, medicine cabinets, appliances and lighting provide a quick transformation to refresh the style and functionality of your space.

Om sweet home

Though talk-to-me tech is trending, some will be looking for ways to escape the chatter.

Meditative and sound-barrier features will appear in more homes this year - think transformative experiences using acoustic panels, colored lights and aura effects. Ethereal, sheer and translucent fabrics will support the aesthetic, pairing an organic feel with the benefits and convenience of select technology.

Industrial style

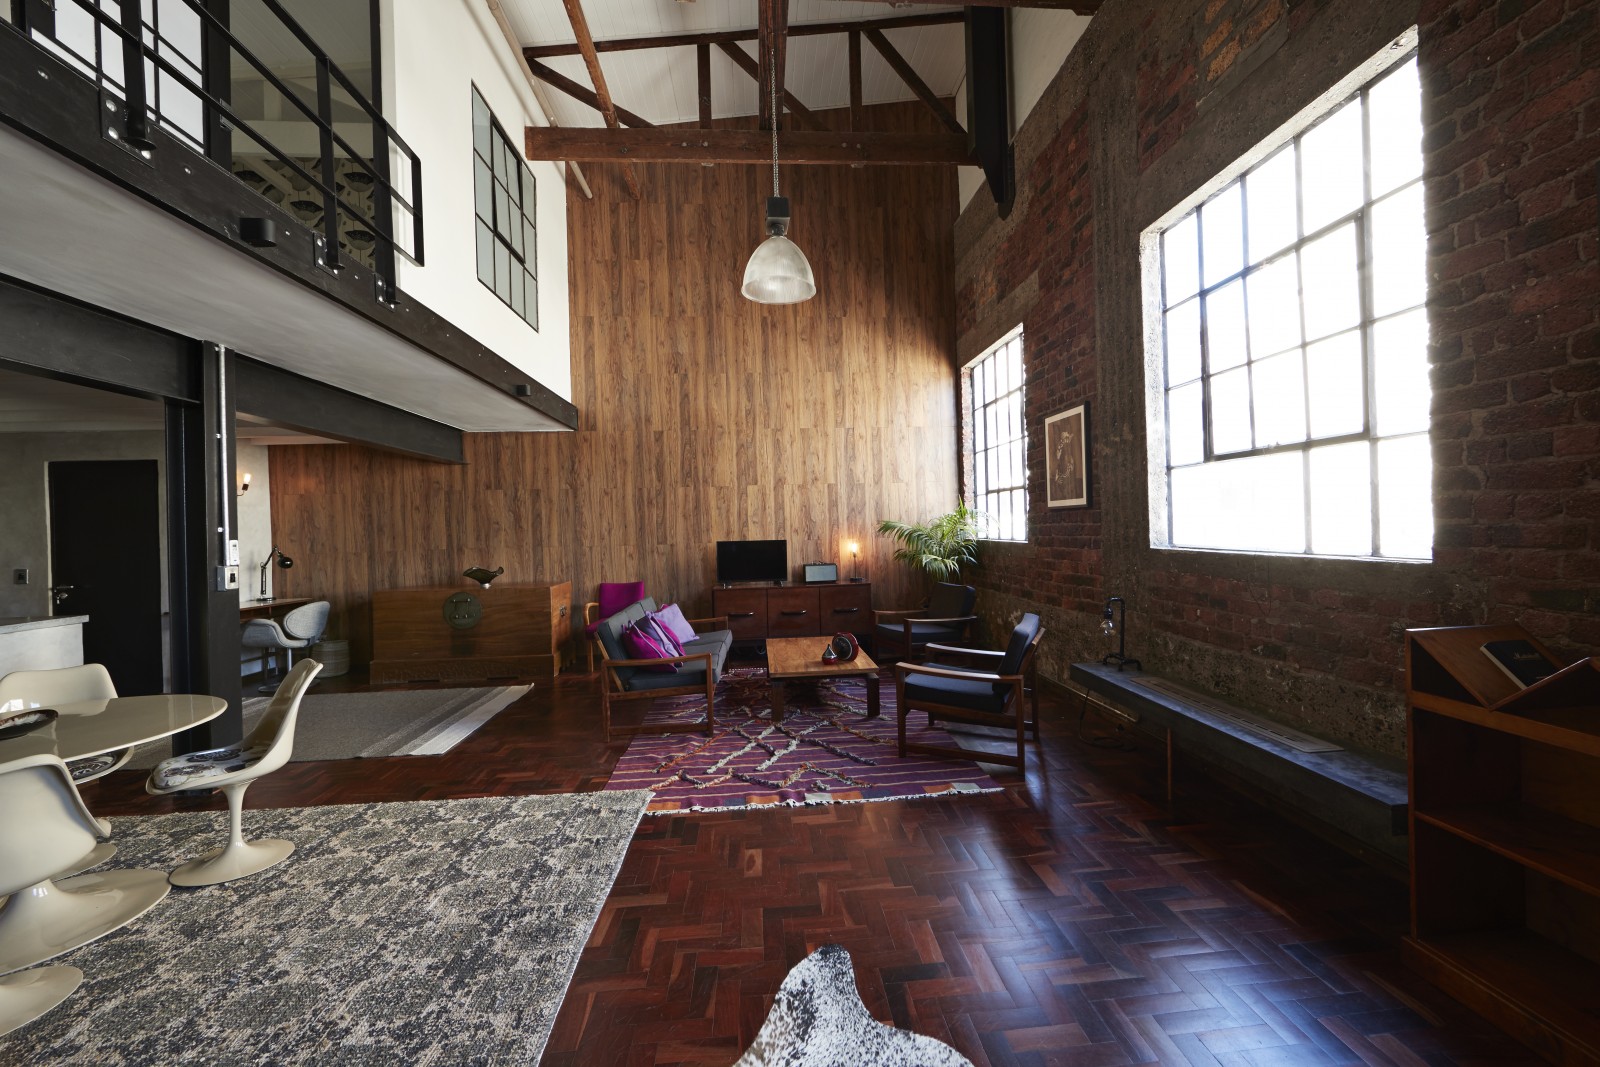
Concrete, quartz and metal lovers, rejoice! Industrial styles are predicted to rise in popularity in 2019.

Matte black and bronze continue to dominate and complement a more industrial vibe. But when selecting wall colors, appliances, faucet finishes and fabrics, consider the possibilities of moody blues and the gray color spectrum. From warm light grays to the coolness of matte black, these tones add a subtle layer of intrigue and distinction.

Plus, black and charcoal gray front doors could earn up to $6,271 more when selling your home!

Organic maker accents

Handmade details can immediately soften an interior. This year you’ll see rhythmic patterns and imperfect lines incorporated through hand-painting, stitching and detailing, expanding the possibilities for endless mixing and matching in the home. Additionally, fabrics and accents with strands of crystal, wooden and pearlescent beads present a sophisticated flair for artful detail.

Home decor favorites will still include earthy elements and nubby textures. Think neutral naturals by simply adding a wooden side table and sculpture, live and fake plants for color, and natural fibers through rugs and fabrics.

What’s out

Rustic

Is America finally over the “Fixer Upper” movement? Not quite, but the rustic, farmhouse-chic elements are getting refined.

The shiplap-crazy trend seems to be leaning toward a modern twist, simplifying layers of the look. Cutesy barn doors will take a backseat to more modern versions featuring glass and metal instead of reclaimed barn wood.

The signature statement range hood covered in rustic materials will swing to simplified finishes, like brushed brass, stainless and matte black. Lastly, the harsh light of the Edison bulb will move to a more complementary glow, reflecting concealed bulbs versus exposed ones.

Millennial pink

Bold, trendy color schemes are likely on the way out, with more subtle earth tones and cool, classic palettes on the rise.

Blues and neutrals continue to top Zillow trend reports, adding higher dollar values related to home sales when used in kitchen and bathroom areas. While millennial pink may have been all the rage on designer Instagram feeds, people don’t actually want to live with it throughout their homes.

Whether trends inspire you or not, it’s important to be aware of them, because they help shape our own personal interior style. If you love purple gingham in your dining room, go for it. If an all-white interior speaks to you, celebrate it.

Our homes are where we express ourselves and tell our unique style story, so I encourage you to do just that in the new year.

Related:

How to Host a Cozy Game Night

It’s cold out there, and whether you’re snowed in or just looking to unwind, it’s the perfect time for game night.

Fun for the whole family or as a night in with friends, game night is all about friendly competition. Decor should be simple, drinks should be hot and the mood should be mellow.

Here’s a DIY and a recipe that are sure to charm even the chilliest guest. (Materials and instructions below!)

Card coasters materials

  • Vintage playing cards - find them at a flea market or yard sale
  • Panel of cork - pick one up at any craft or hardware store
  • Glue

Mulled wine recipe

  • 6 cups of cider
  • 3 cups of orange juice
  • 1-1/2 bottles of red wine - a dry red is best
  • Honey (to taste)

Mix ingredients and simmer until hot. Garnish with a blood orange wheel, an anise pod and a stick of cinnamon. Should serve 10-12 people.

Videography and photography by Mikal Marie Photography

Related:

Originally published January 2016.

Find and Fix Drafty Windows to Keep Your Home Warm and Snug

There's a chill in the air - do you feel it? Rather than wait around for the mercury to plummet, take steps now to ensure that your home remains comfortable through the coldest months of the year.

Besides proper insulation and HVAC maintenance, I recommend taking a close look at your windows. Notorious for air leaks, windows can not only admit cold air but also allow heated air to escape.

There are many ways to seal such drafts - but first you’ve got to find them.

Locate the draft

Here's a quick and easy method of testing the seal on your windows. First, walk through the house and close all the windows as tightly as possible. Next, light a candle. Hold the flame near each window, inches from the glass, slowly moving the candlestick around the seam between the window and its frame.

If the flame bends or flickers while your hand is still, then there's probably an air leak. Mark the trouble spot with a sticky note so you can return to repair it later. Test every window in the house, marking each area where you suspect a draft.

For a more accurate diagnosis, hire a professional to perform an energy audit of your home. Though there’s a cost involved here, many local utility companies offer such services either for free or for a nominal fee. Check with the company that provides your electricity.

It’s certainly worth inquiring, since what professional energy auditors do is a lot more sophisticated than the candle method. They conduct thorough room-by-room assessments - not only for window drafts but also for any other instances of energy inefficiency.

Address the cause

Having pinpointed the locations of window drafts in your house, the next step is to seal them all up.

There are several ways to get the job done. Some methods are inexpensive, temporary and manageable for DIYers. Other more permanent options are quite expensive and best left to contractors. Choose the fix that best fits your needs and budget:

Weatherstripping

Easily affordable, with a price tag of only a few bucks per window, weatherstripping lends itself to easy DIY installation. Purchase the product in your chosen material - felt, foam, plastic or metal are readily available in hardware stores and home centers.

Cut the strips to size and use them to fill the gaps between a window sash and jamb.

Caulking

Whether you’re working inside or outside, you’ll caulk windows in two places: where the window meets the surrounding casing, and where the casing meets the surrounding wall (inside) or siding material (outside).

Tubes of caulk are inexpensive, and with a little practice, easy to use.  If you’ve caulked your windows in the past, that doesn’t mean you’re off the hook - caulk deteriorates over time. It may be time to remove the old caulk and start over.

Draft snakes

You’ve likely seen or even used a draft snake in the past. These are stuffed tubes, placed on a windowsill or under a door, as a modest measure of keeping out the cold and keeping in the warmth.

Buy one at low cost or make your own for next to nothing. If you go the DIY route, you can use virtually any fabric, including extra towels or socks. Fill the middle with batting, rice, potpourri or anything similar you have on hand.

Though decidedly makeshift, draft snakes work well in a pinch.

Insulation film

If you don't plan to open and close the window, try sealing it under a layer of insulation film. Sold by the roll, insulation film either self-adheres or goes on with double-stick tape.

Also available are special shrink-wrap kits that, once heated with a hair dryer or other tool, create an impermeable, airtight seal without visible wrinkles.

Replacement windows

The bad news: It can cost a small fortune to replace the windows in your home. The good news: Upon resale, the average homeowner recoups about 79 percent of what they invested in the replacement.

This isn’t a simple case of out with the old, in with the new. Properly installed, today’s energy-efficient windows minimize drafts and create an overall tighter seal. In fact, Energy Star-rated windows can lower your energy bills by 7-15 percent monthly.

Add a layer of protection

No matter the benefits of replacement windows, many people are either unable or unwilling to cover the initial expense.

If you’re looking for a less costly but permanent solution to window drafts, consider storm windows. Some designs fit within the window on the interior; others cover the window from the outside. Any type can go a long way toward insulating and protecting the windows you currently have.

When it comes down to it, every layer helps. If you do nothing else to remedy the problem, why not at least hang curtains? You stand to gain not only greater comfort but also real savings on your month-to-month heating bills. Don’t get left out in the cold!

Related:

Note: The views and opinions expressed in this article are those of the author and do not necessarily reflect the opinion or position of Zillow.

Originally published October 31, 2014.

Realtor MLS Logo
© 2020 Russell Rich Real Estate | All Rights Reserved